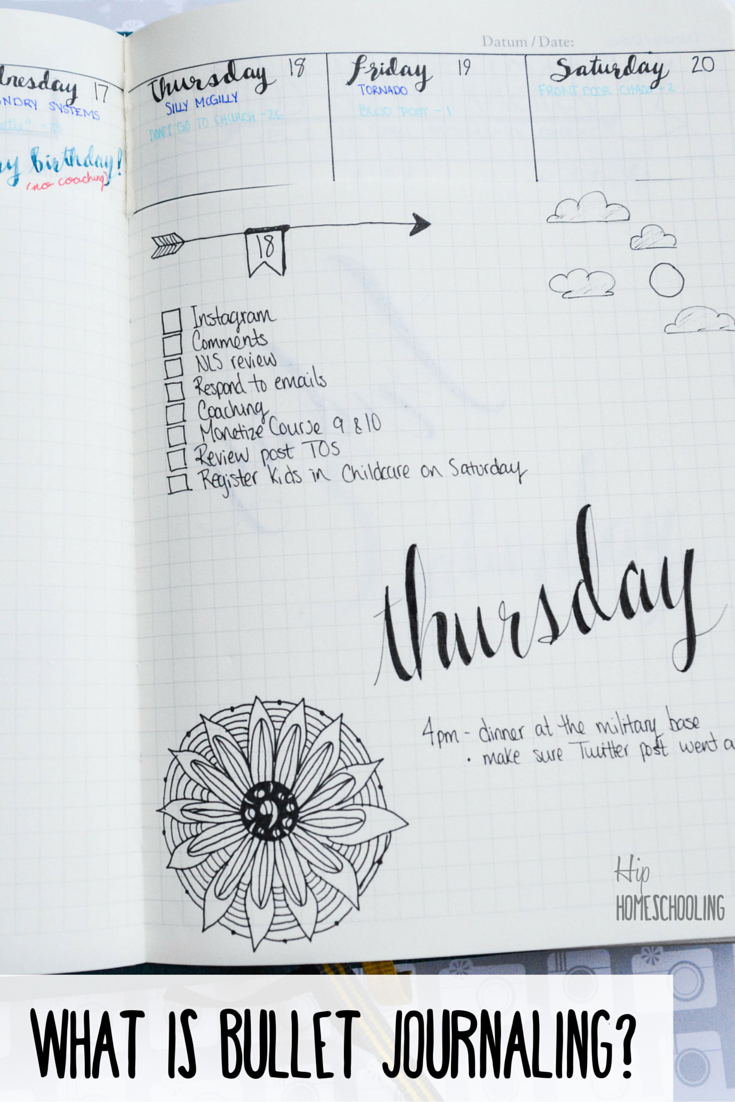
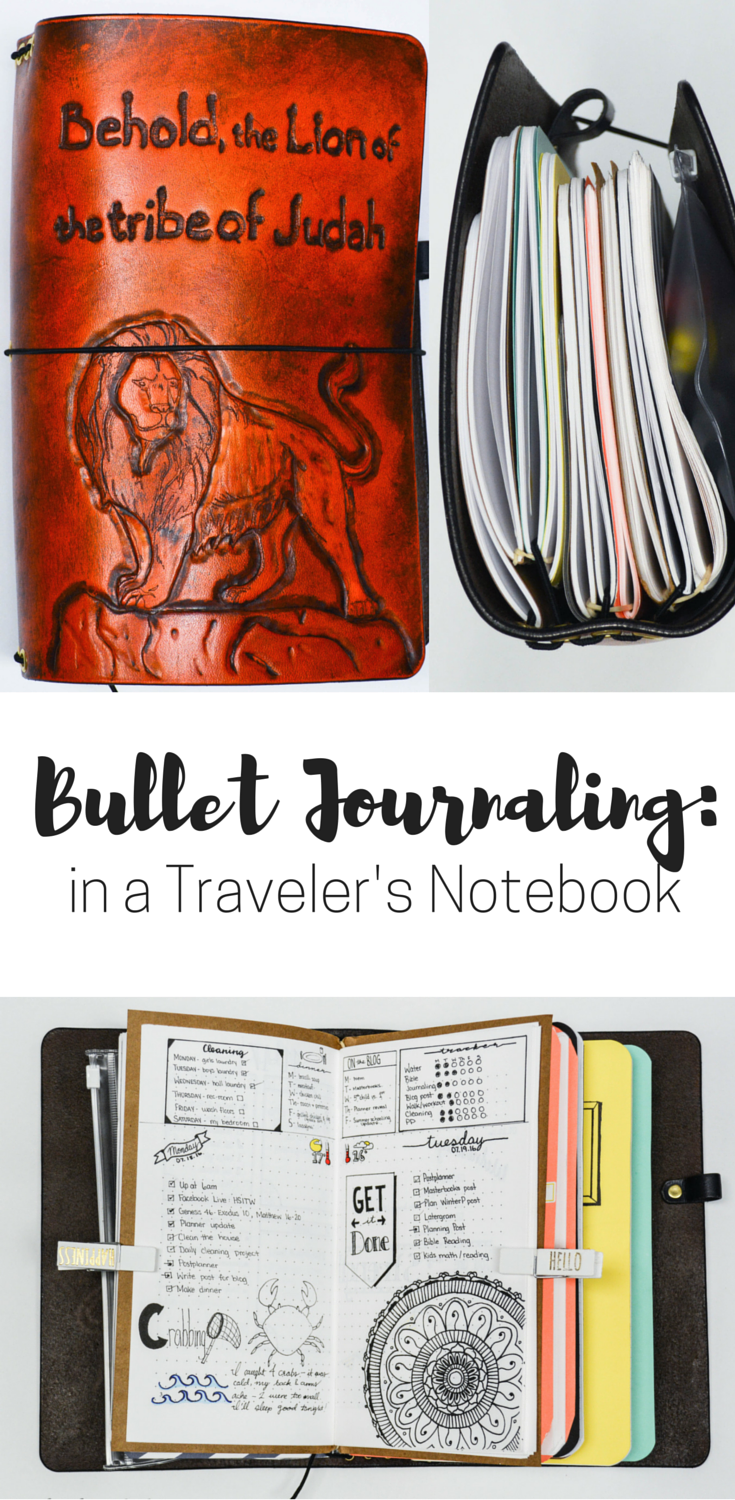
Bullet journaling is an amazingly simple way of planning your life, in a way that is completely customized for YOU. It is the only planning system I have ever found that worked for me long-term. In fact, I have been bullet journaling pretty consistently for the past 6 months, which is HUGE for me. I generally don’t last more than about a month with any other planner, mostly due to the amount of boxes that either don’t work, don’t fit, or I don’t fill in and then I lose steam. When I first started planning, I bought a traveler’s notebook and made my own inserts (you can see some of my homemade ones on my etsy shop here). This was really just a solution until my Leuchtturm came in. I was pretty smitten with the idea of just a blank grid notebook, with absolutely no structure, and this seemed to be the way to go from all the experts. I am kind of an “all in” person and so I immediately purchased two and put them into my traveler’s notebook.
PIN ME!
I guess “officially” I was still using my TN for bullet journaling, but it was more of a cover than a system. My bright yellow Leuchtturm was my everything book. Thankfully, I purchased a custom TN that was extra wide so I was able to fit one of my Leuchtturm books along with some pens inside. It worked, but it just wasn’t 100% me. Over time, I lost a bit of steam with my Leuchtturm, I didn’t like how my writing showed through the pages. I didn’t like the brownish color of the paper (I know, weird OCD planner person here, I like bright white). I didn’t like everything all in one big mess that I had to index in order to find. I didn’t like searching for something that I couldn’t find because I had failed to index it. Frankly, even if I HAD indexed it, I was annoyed that I had to go and search and it just seemed to be a whole series of steps that had me slightly frustrated with the process.
When I received my brand NEW custom Travelers Notebook, I was newly inspired. I mean, it is so incredibly beautiful, I was head over heels in love. I initially purchased it to be extra wide again to be used with my Leuchtturm, but once I got it in the mail, I decided to go back to the initial TN system, which means inserts, inserts, inserts. I purchased quite a few dot grid because I happen to know myself quite well and was aware of the fact that I would want to put it together like 5 minutes ago, not wait to make all the inserts. But I did end up making a custom dot grid insert with an index that I can print off over and over. I currently have 3 custom inserts in my travelers notebook: a meal planning insert I designed (you can get it on etsy here), and two of my dot grid ones that I am using for my collections and my weekly/daily inserts. When I got my inserts in, I loved them, but they were not very full and I decided it would be better to make my own that were on thicker grade of paper and had more paper so that they lasted longer.
A tour through my Travler’s Notebook Bullet Journal
I purchased a Midori pen case that I put in the very front. This is jam packed with pens and markers as well as my handy little ruler that I use EVERY day! I have lots of space in my extra wide, custom made Traveler’s Notebook (which you can get one for yourself, made for YOU on the Etsy shop Altguild, PLUS 10% off with coupon code HiphomeFun! Click here!). Next I have my first homemade insert: My collection insert. This is my first time using dot grid, and I love it WAY more than the regular grid style. If you draw on the dots, your paper looks so clean! I made this myself so I used card stock for the cover and it is a full over 60 pages, giving me lots of space, plus a 3 page index to keep track of all my collections. Because it is homemade, I was able to use quality paper that is WAY thicker than the Leuchtturm, it is also bright white and beautiful! It holds up to any amount of coloring with very little ghosting on the other side, super impressed! If you want to make your own, I put it together as a downloadable, printable insert on my Etsy shop HERE. You just need to make sure you are using a heavier weight paper (I used 34 lb.).
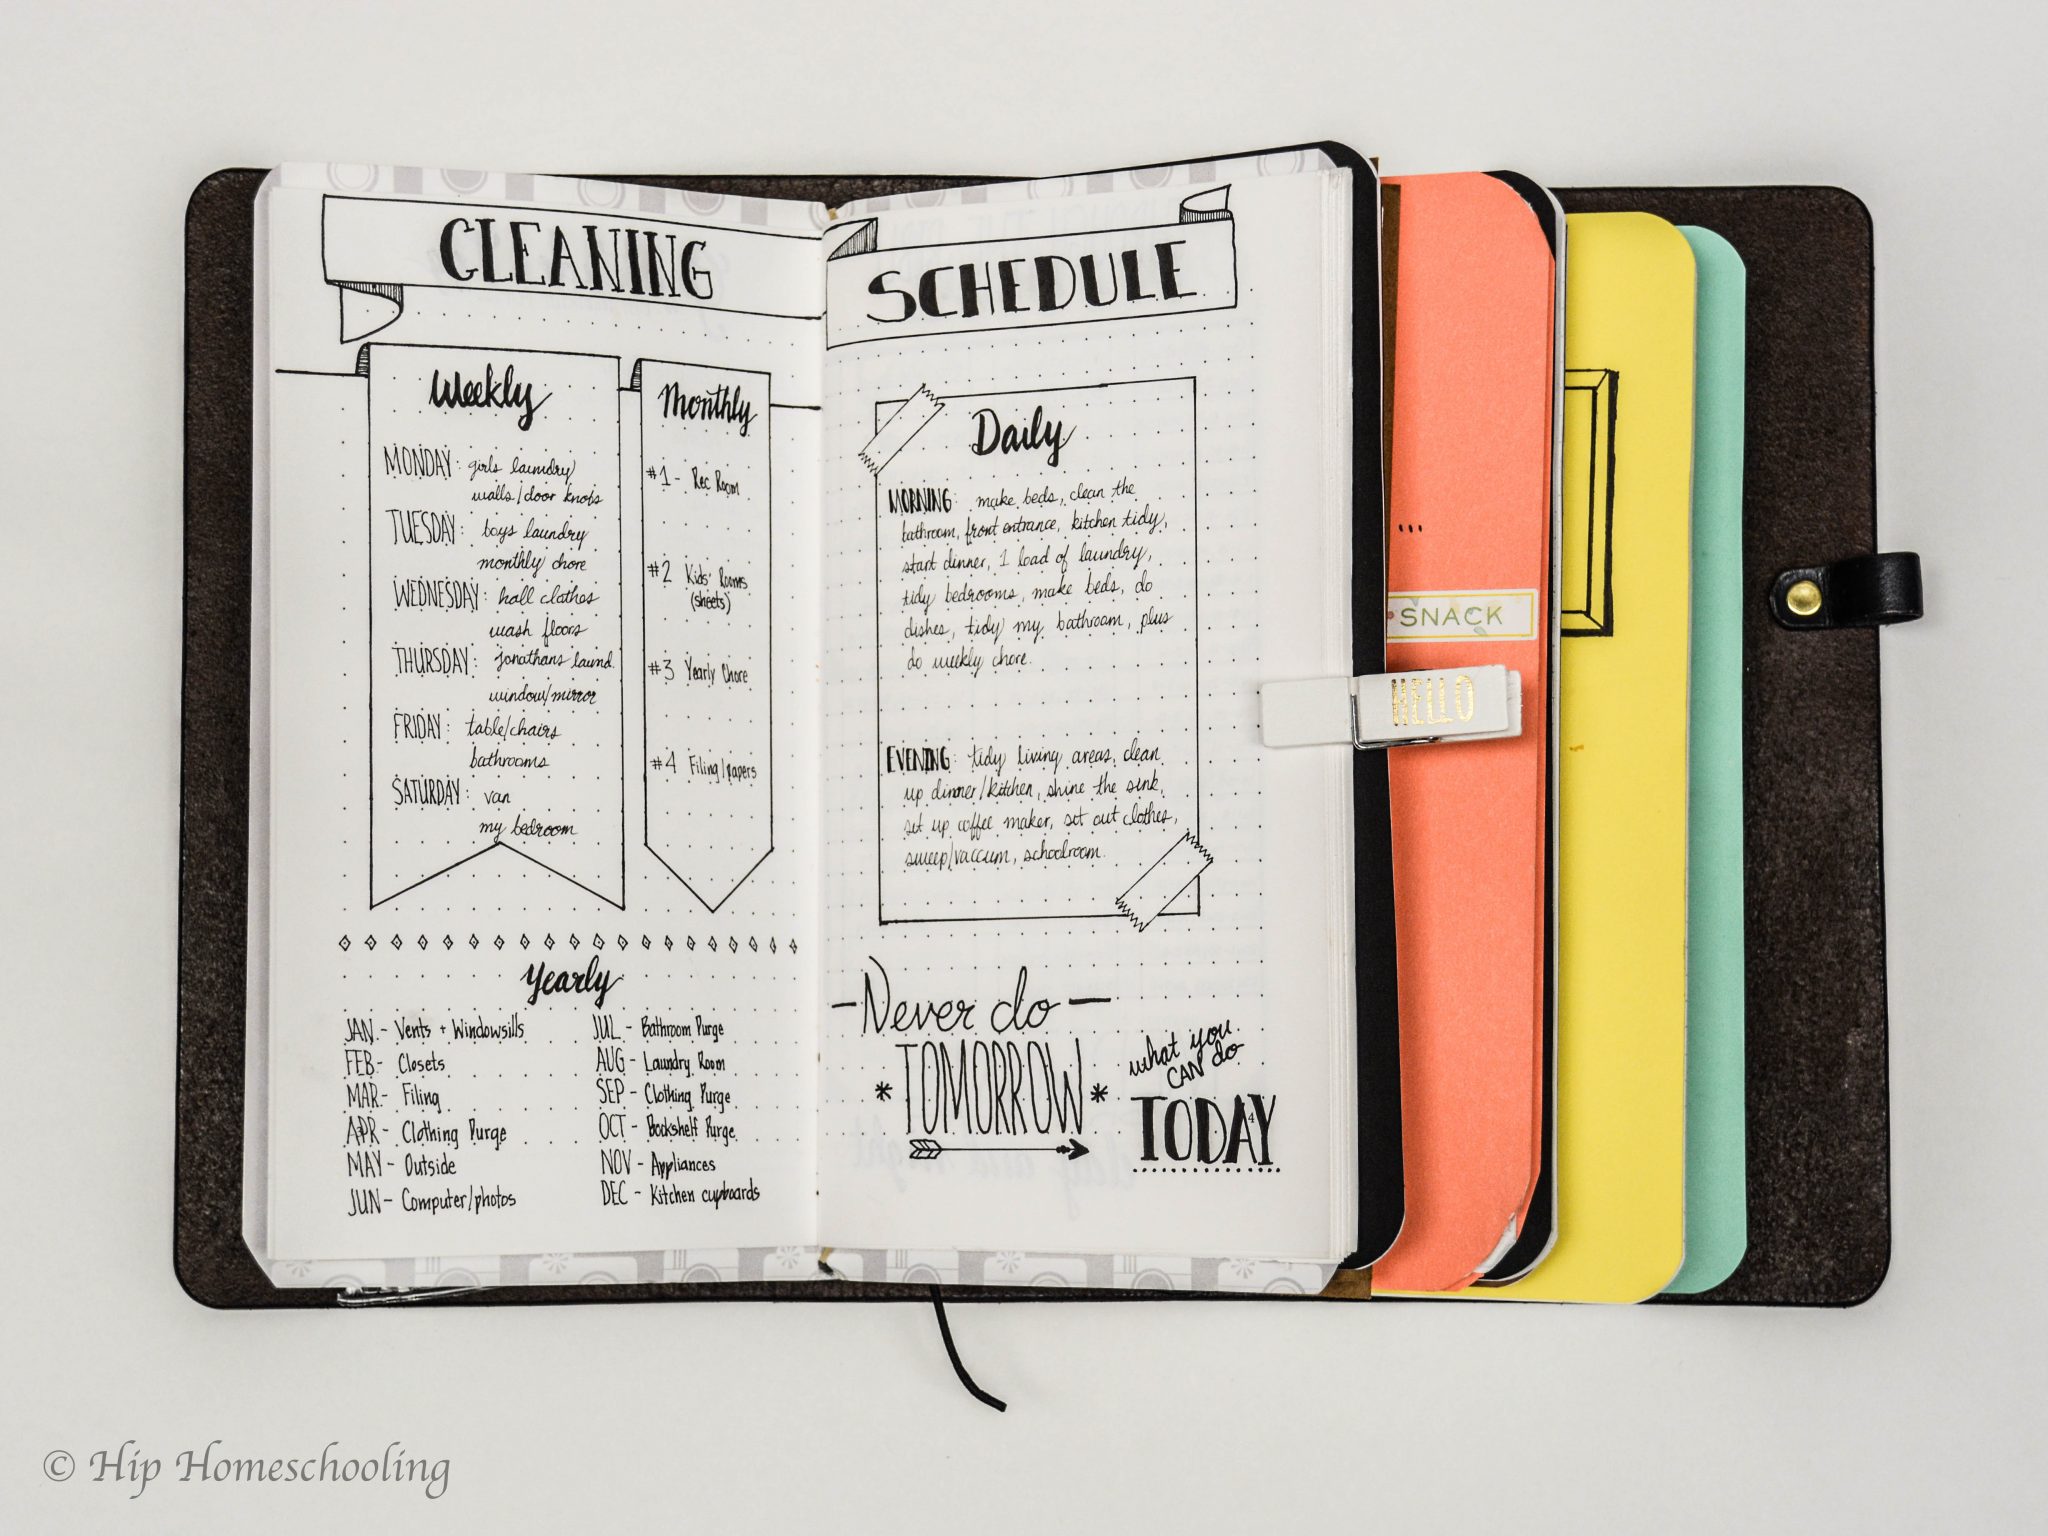
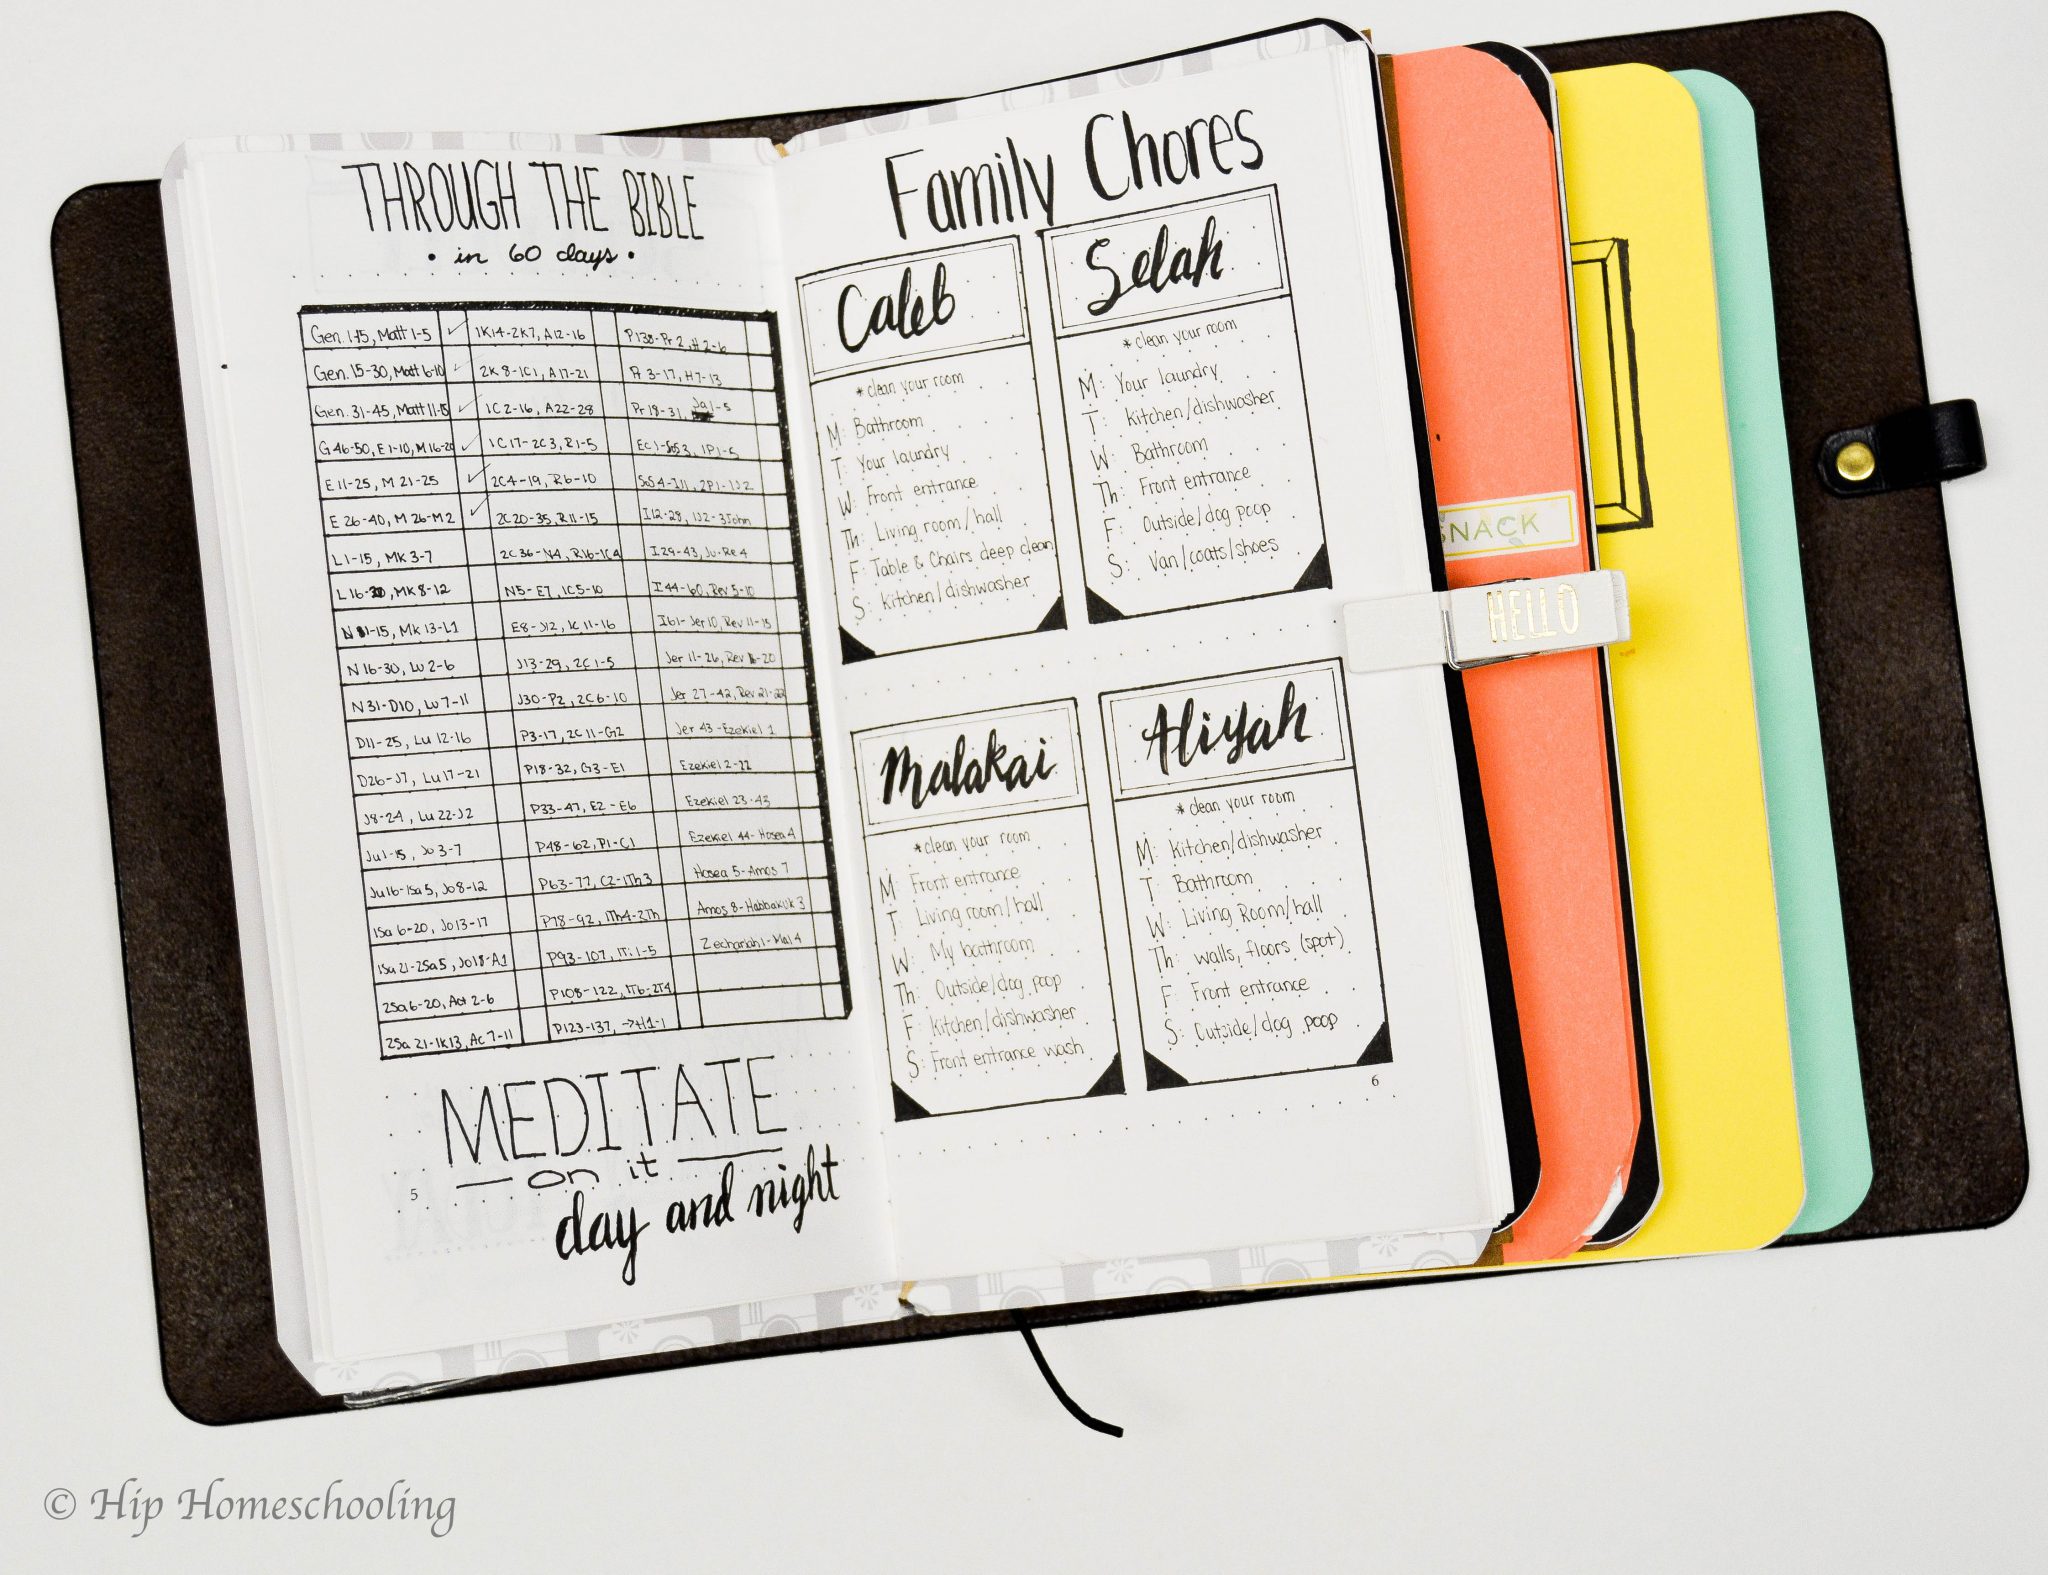
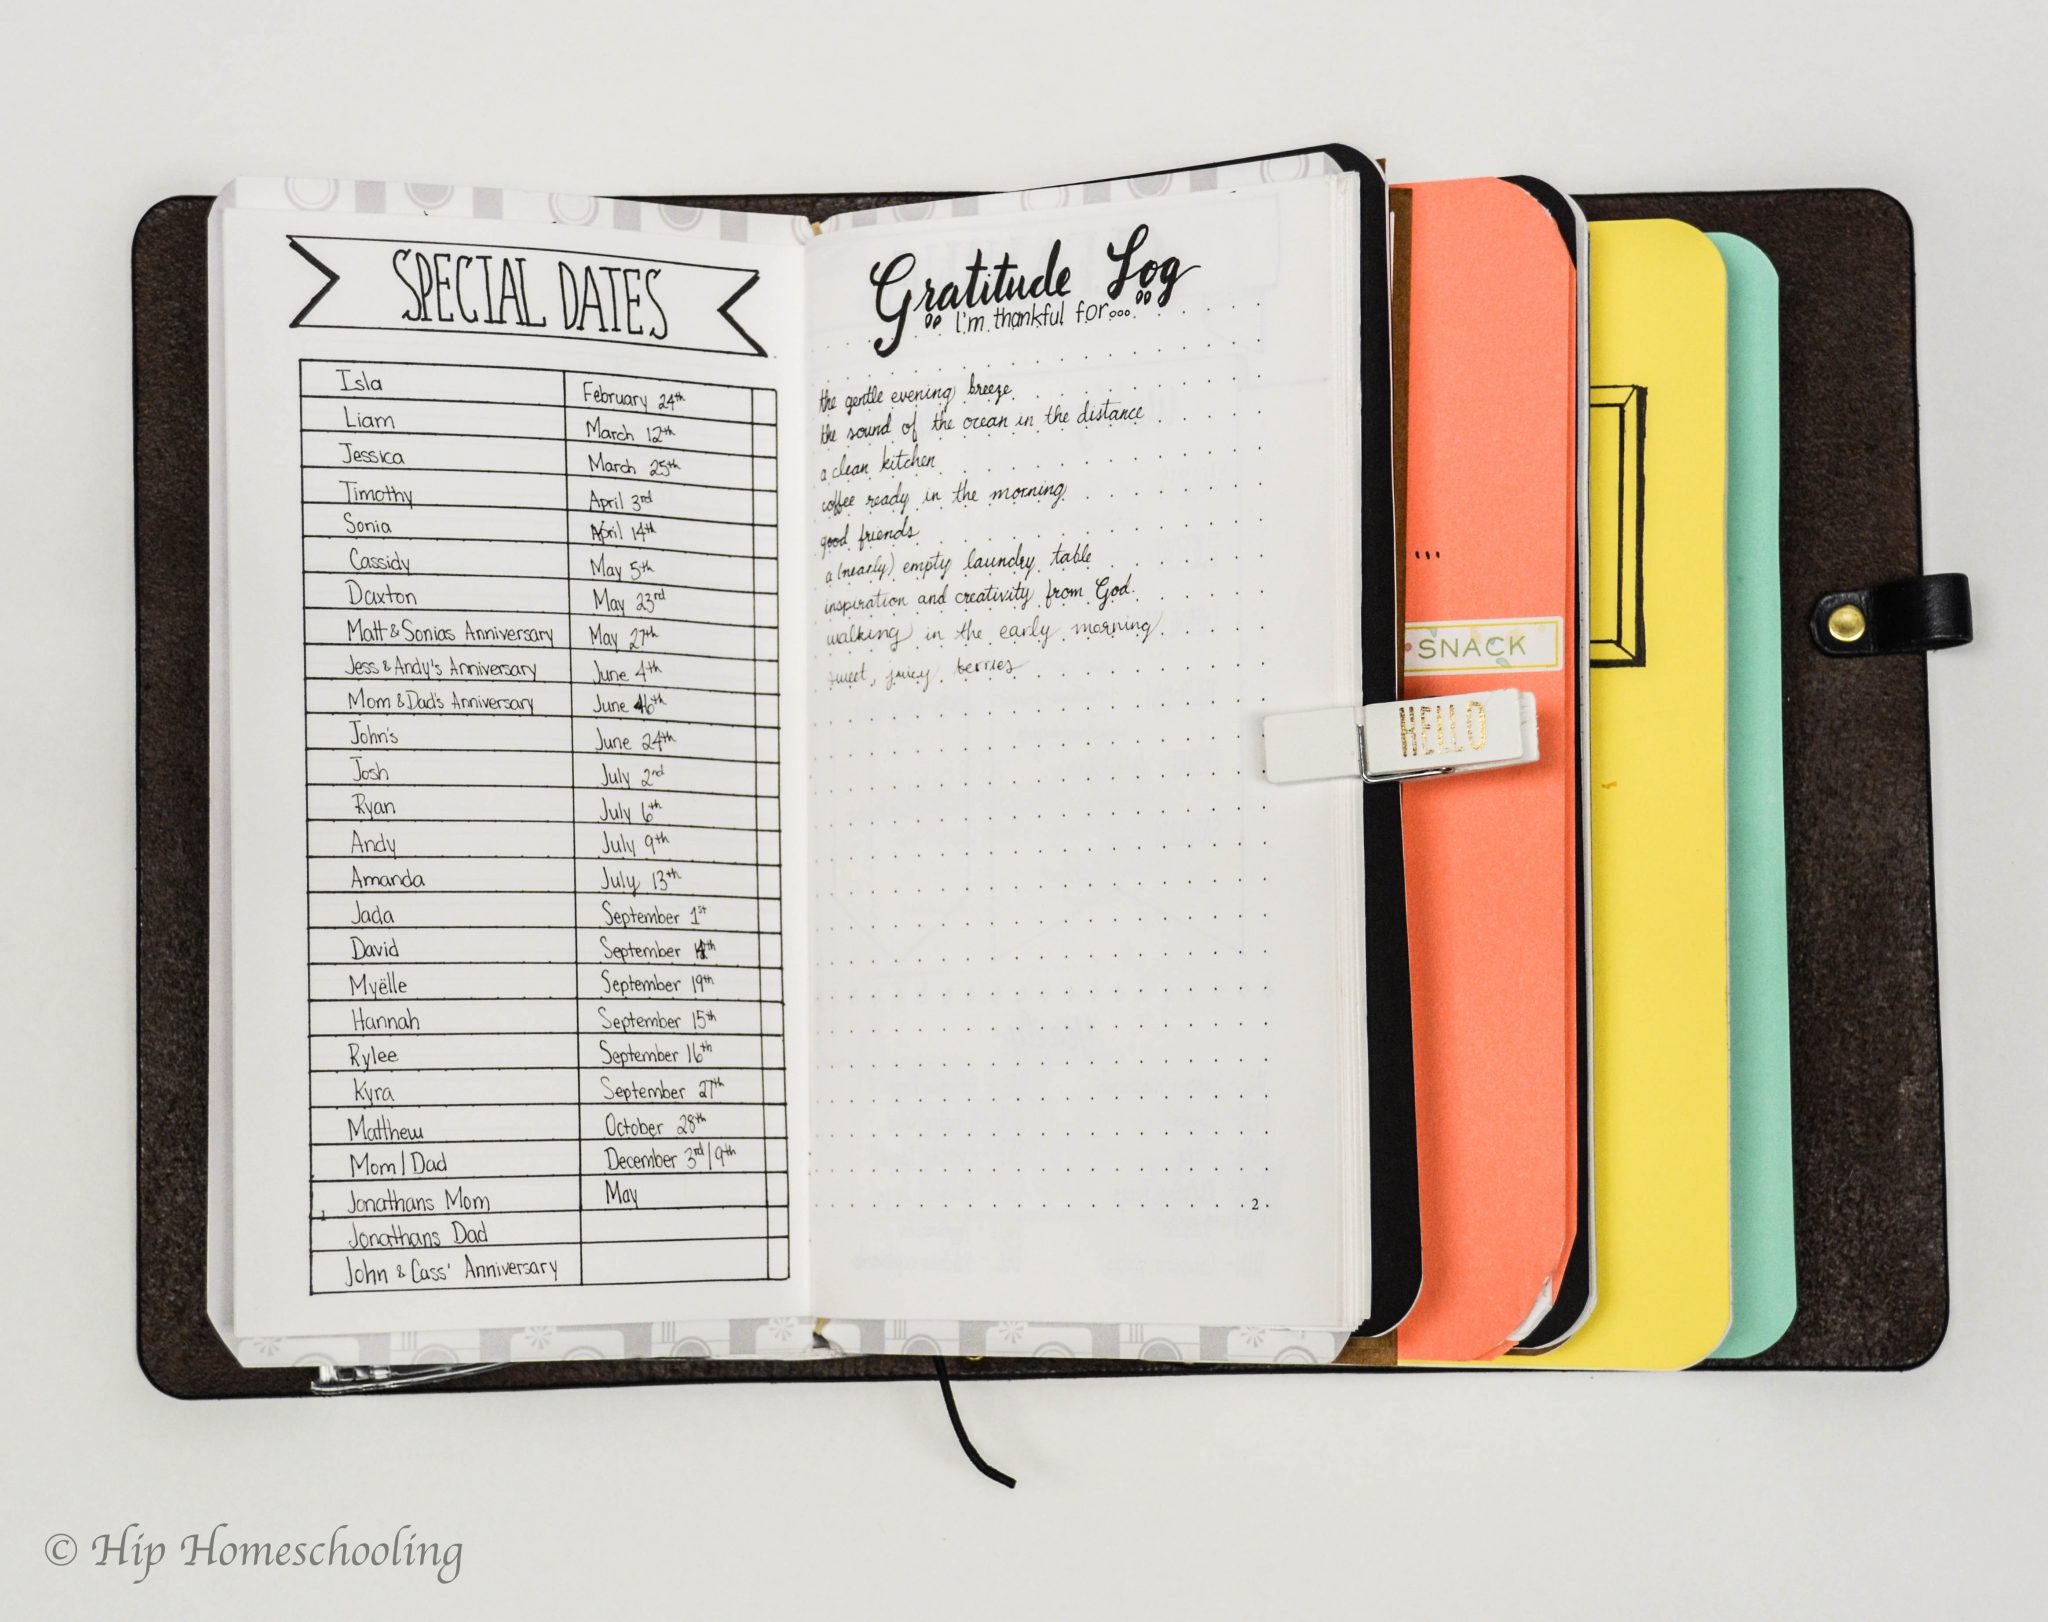
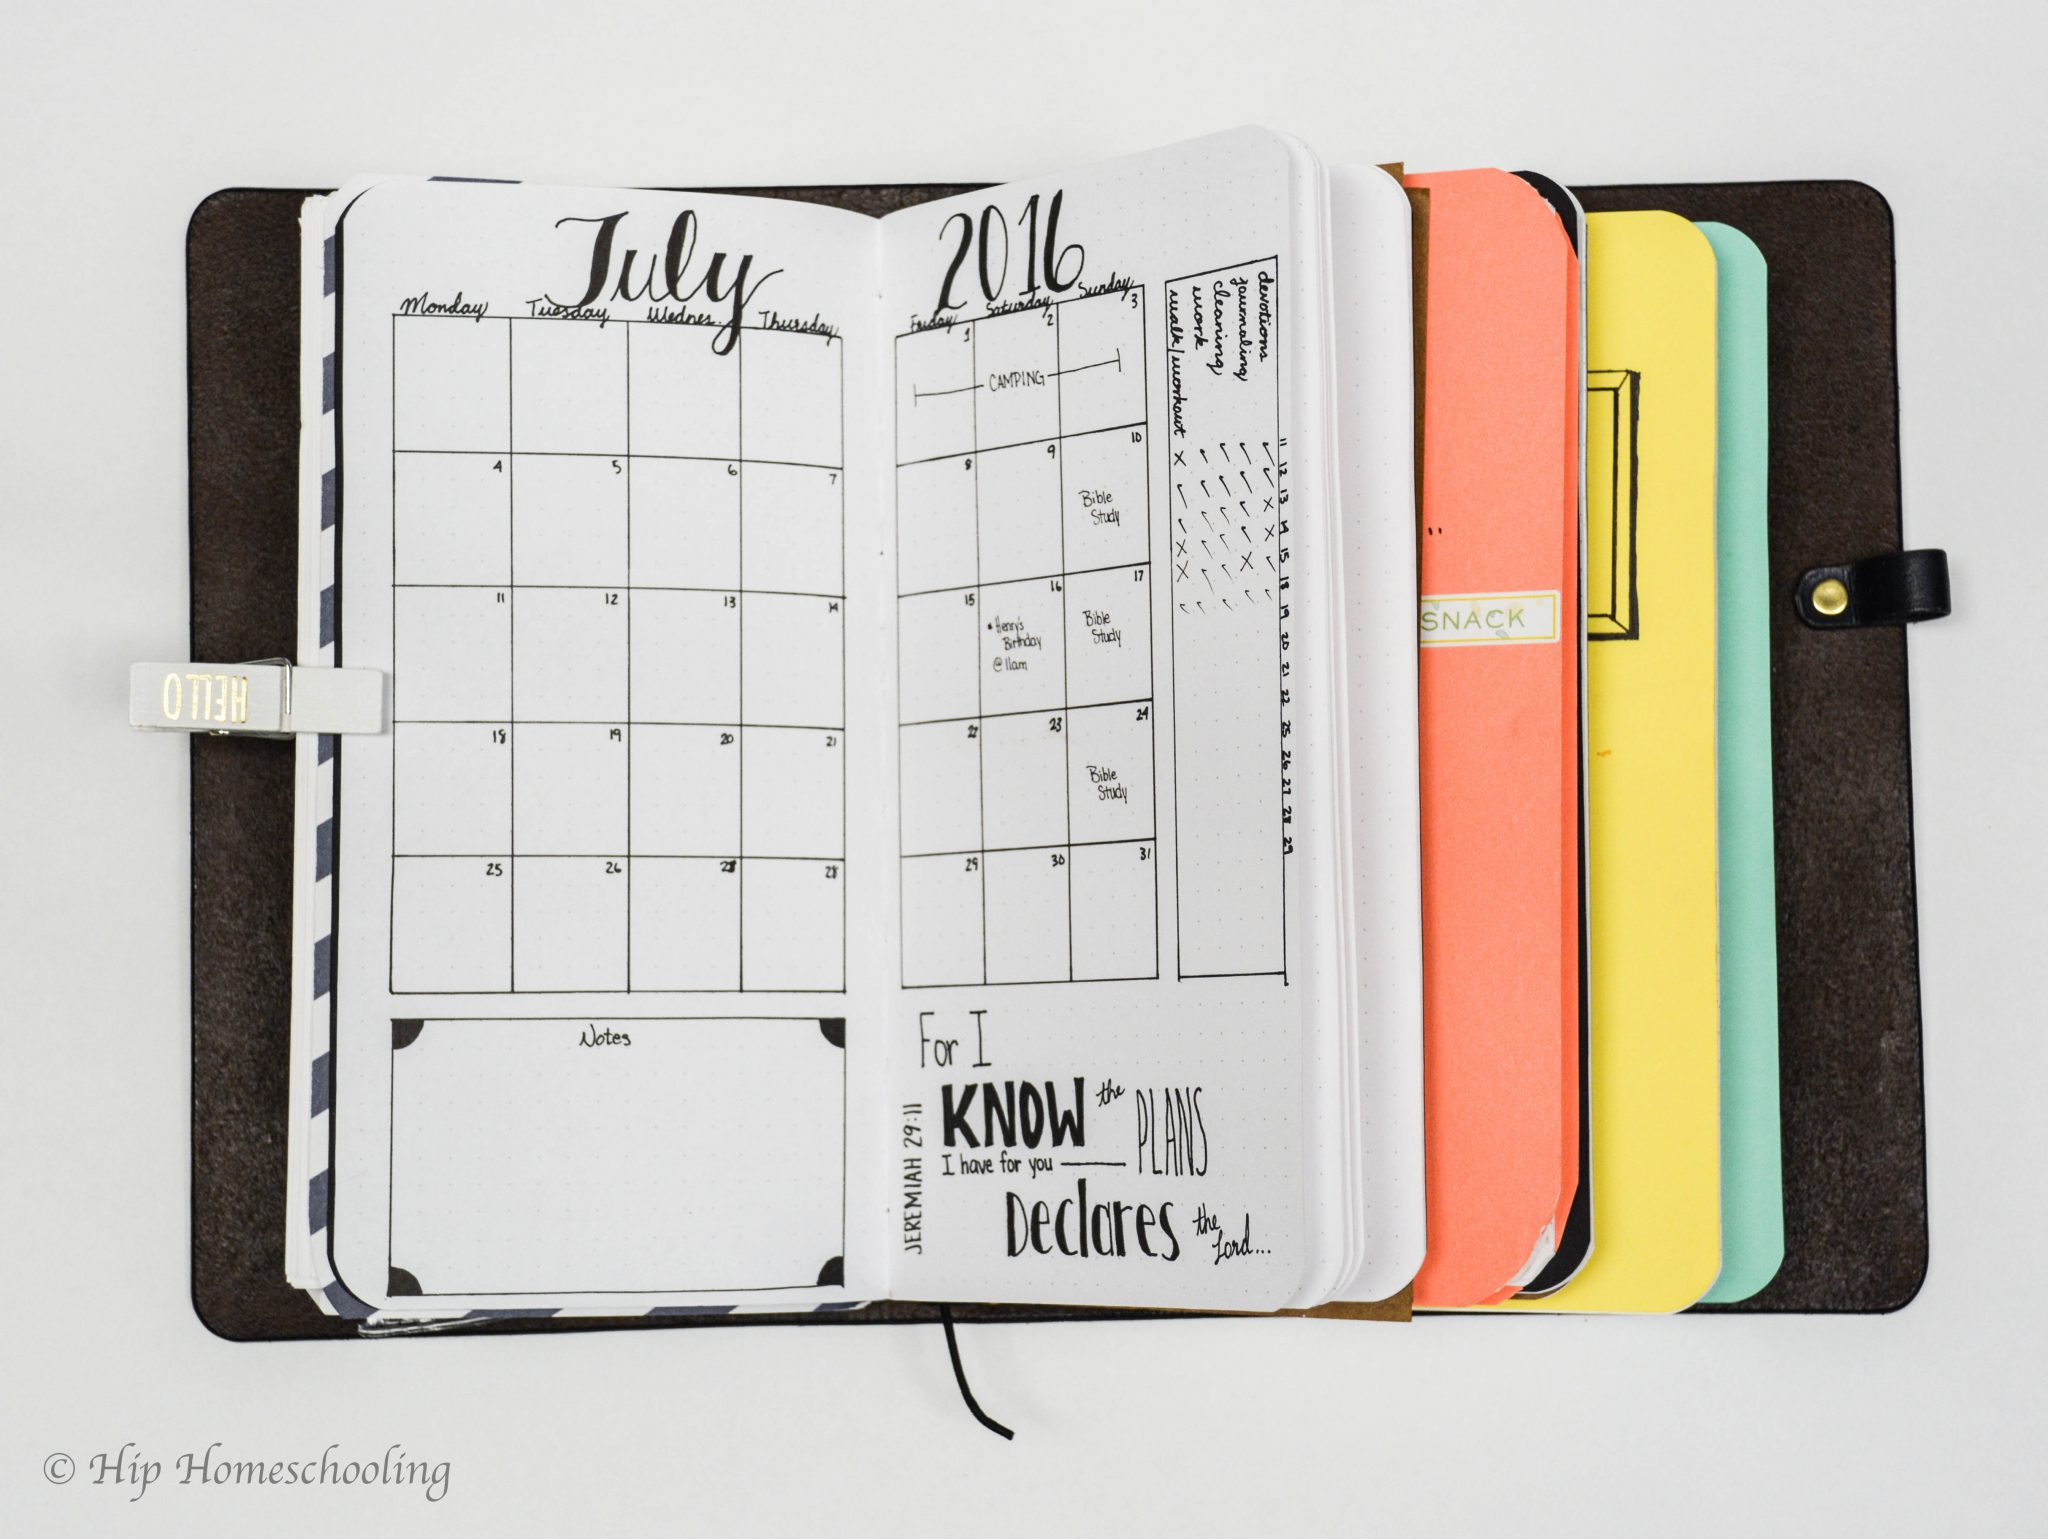
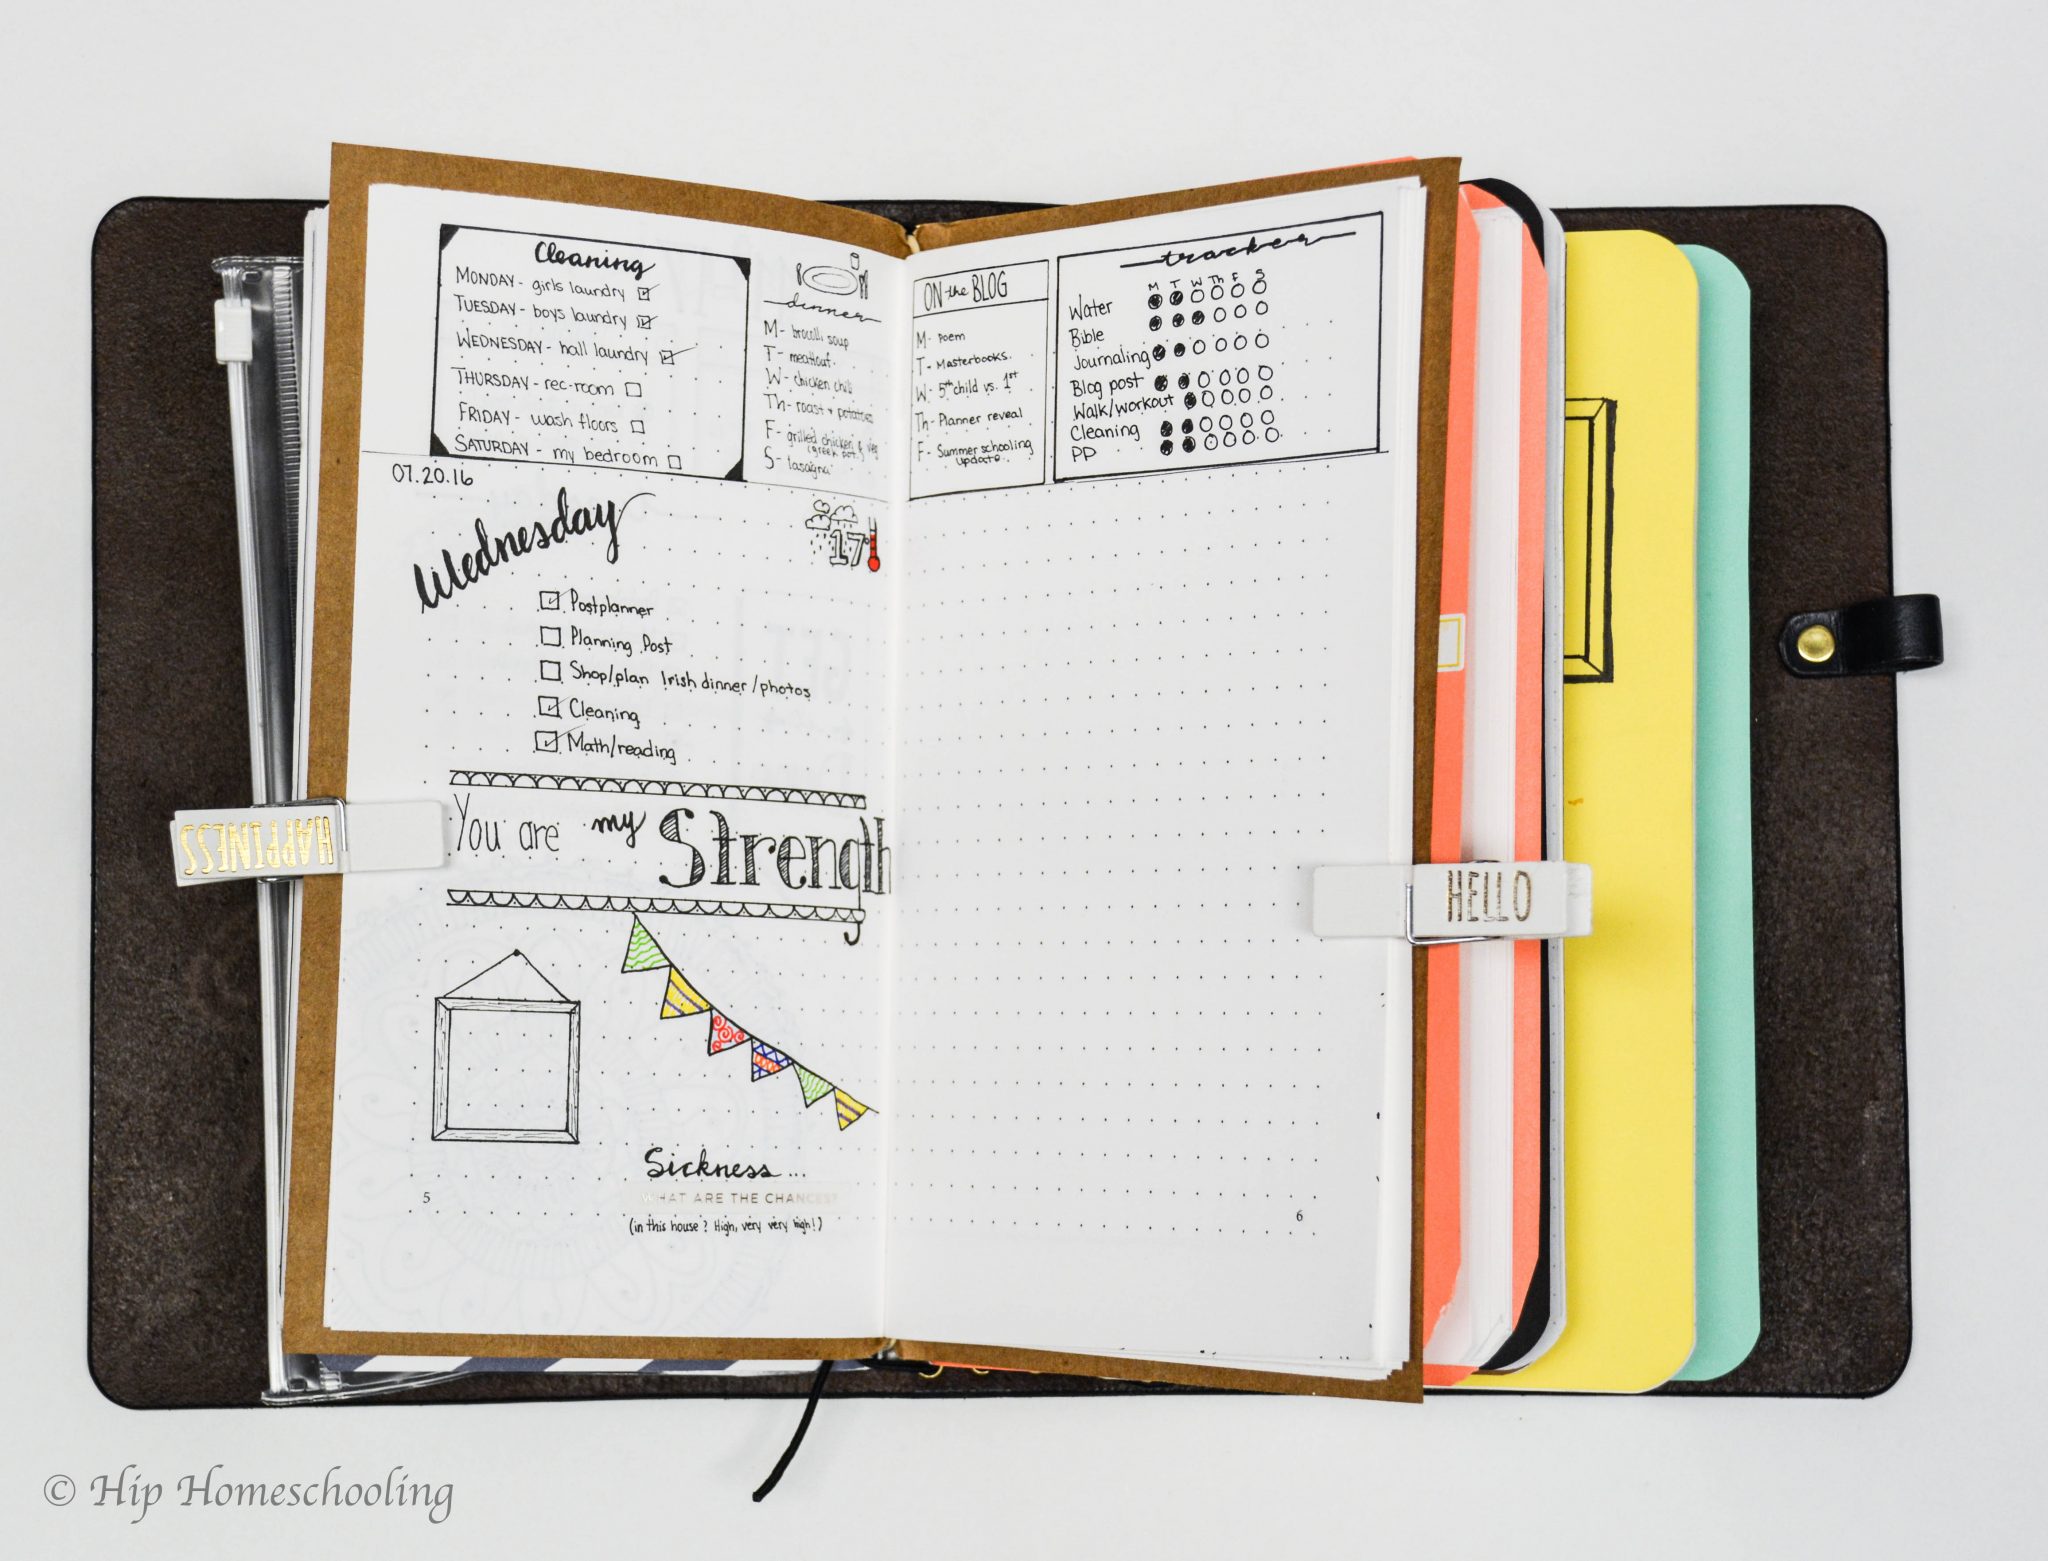
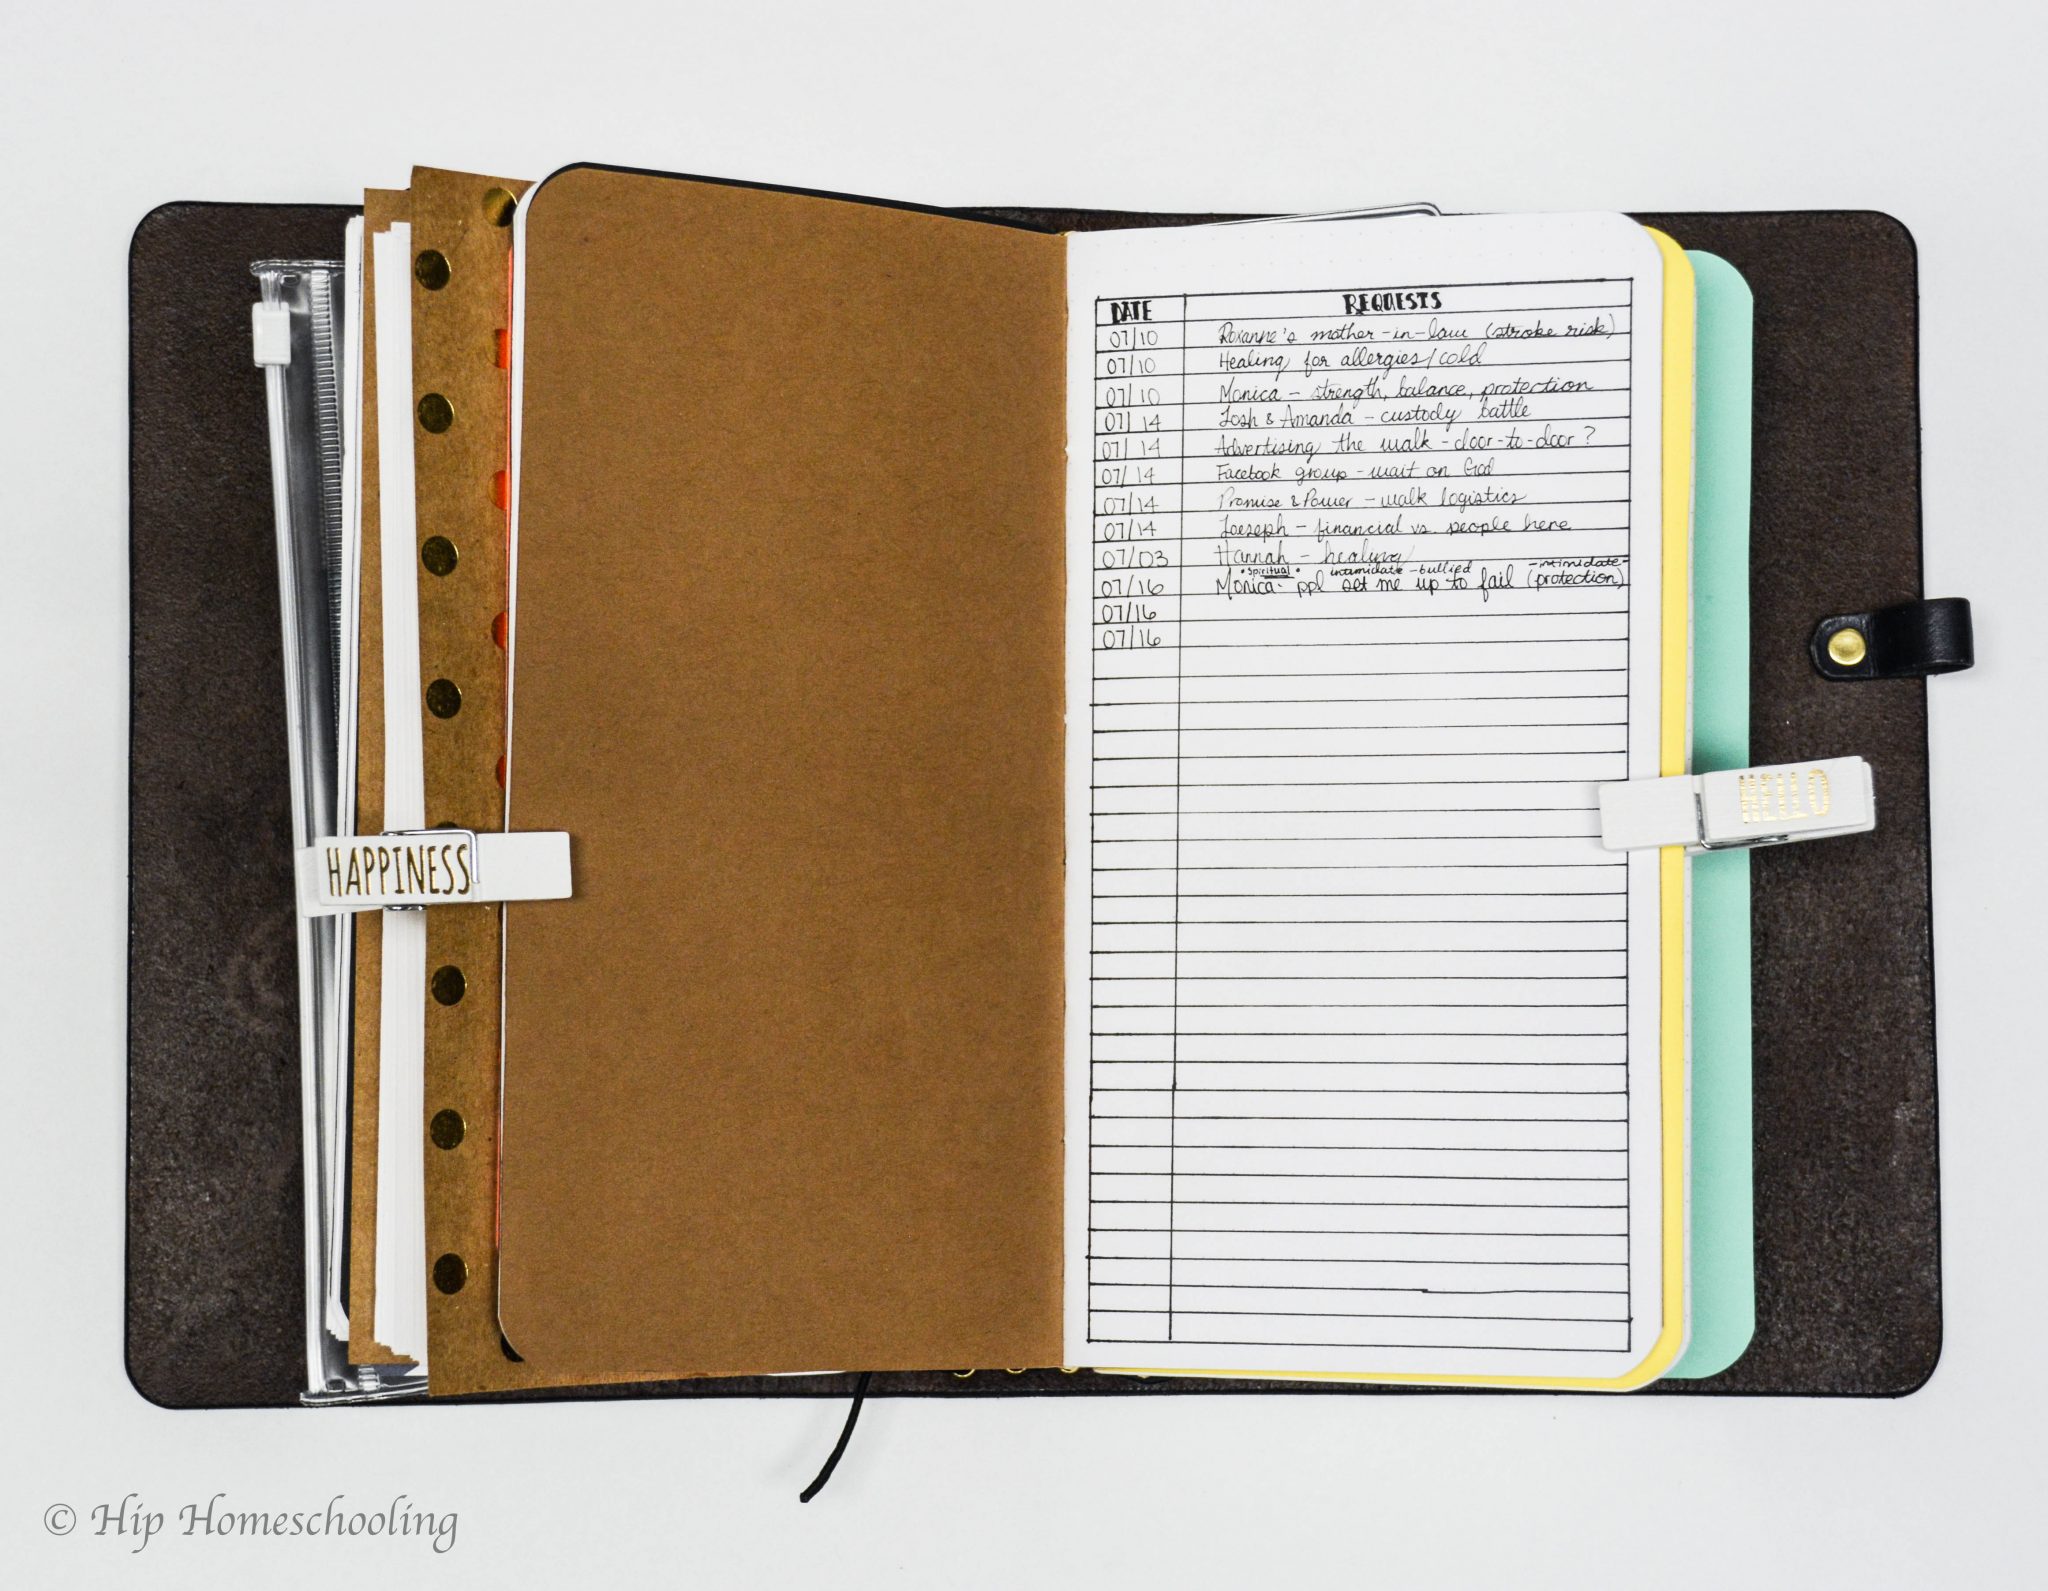
Considering I just got my TN just over a week ago, my inserts are still pretty empty, so I don’t have too much to show, but I will give you a tour through pictures of the different pages in my collection insert.
Next, I have one of my purchased inserts. I decided to make this a monthly insert only. So when I want to go and plan my months or add something to the big picture of my days, I just flip to that insert (no more digging in my big book!)
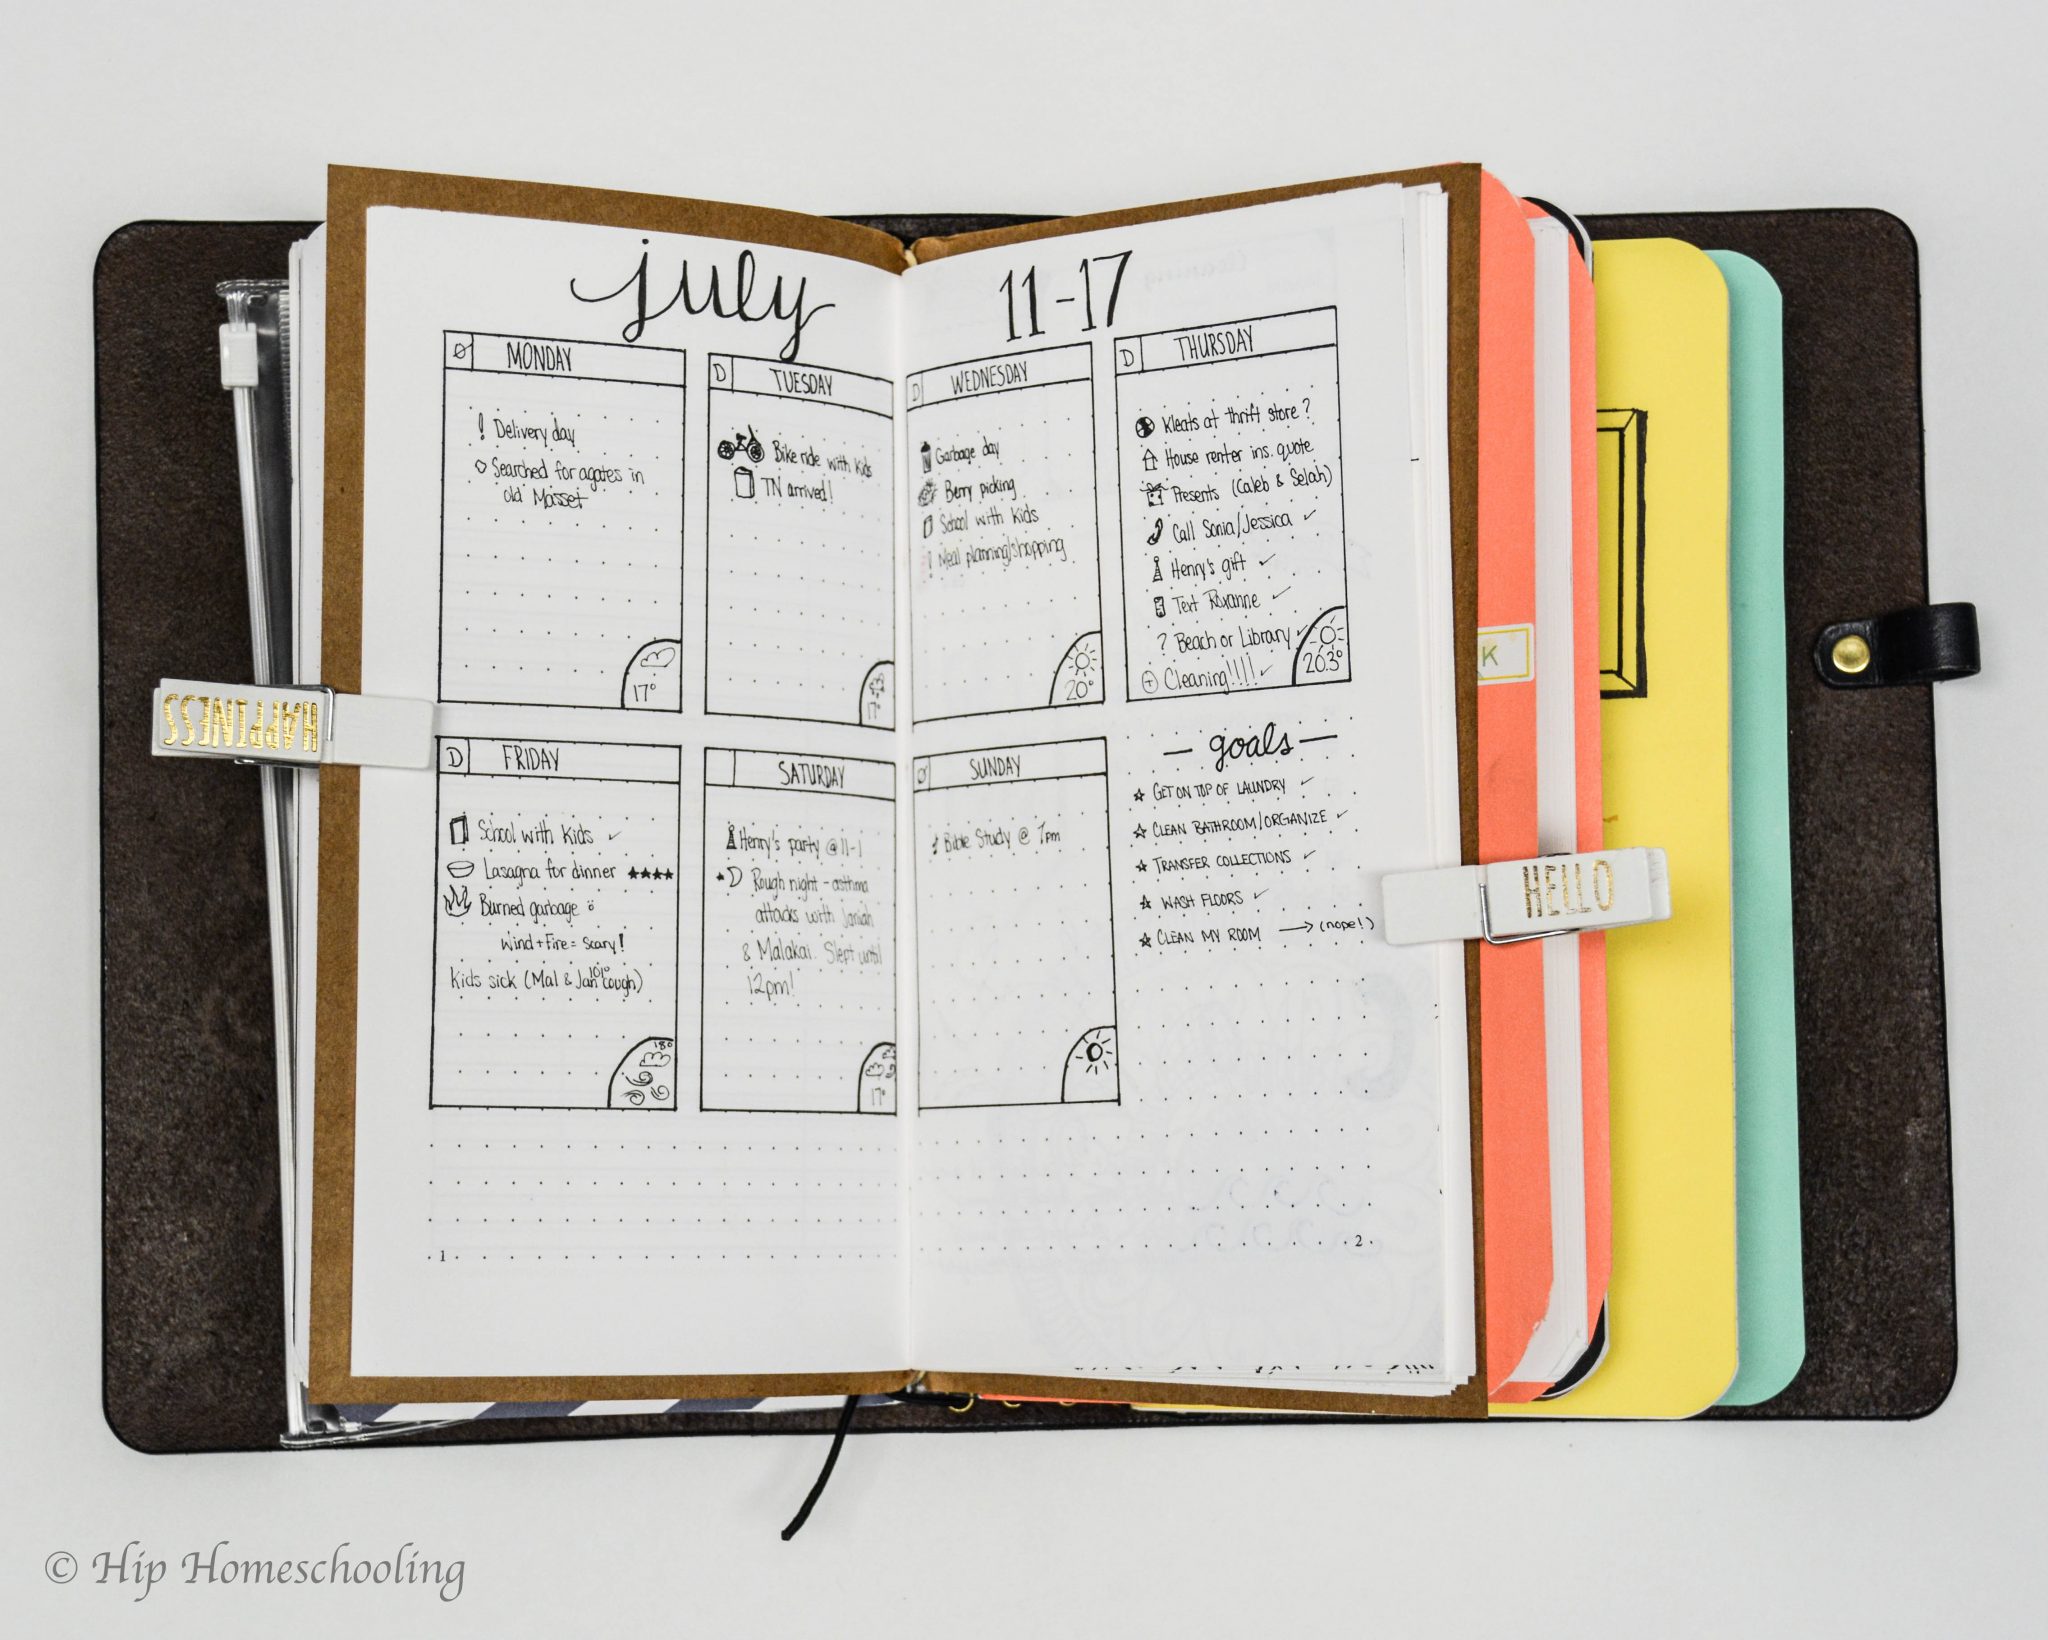
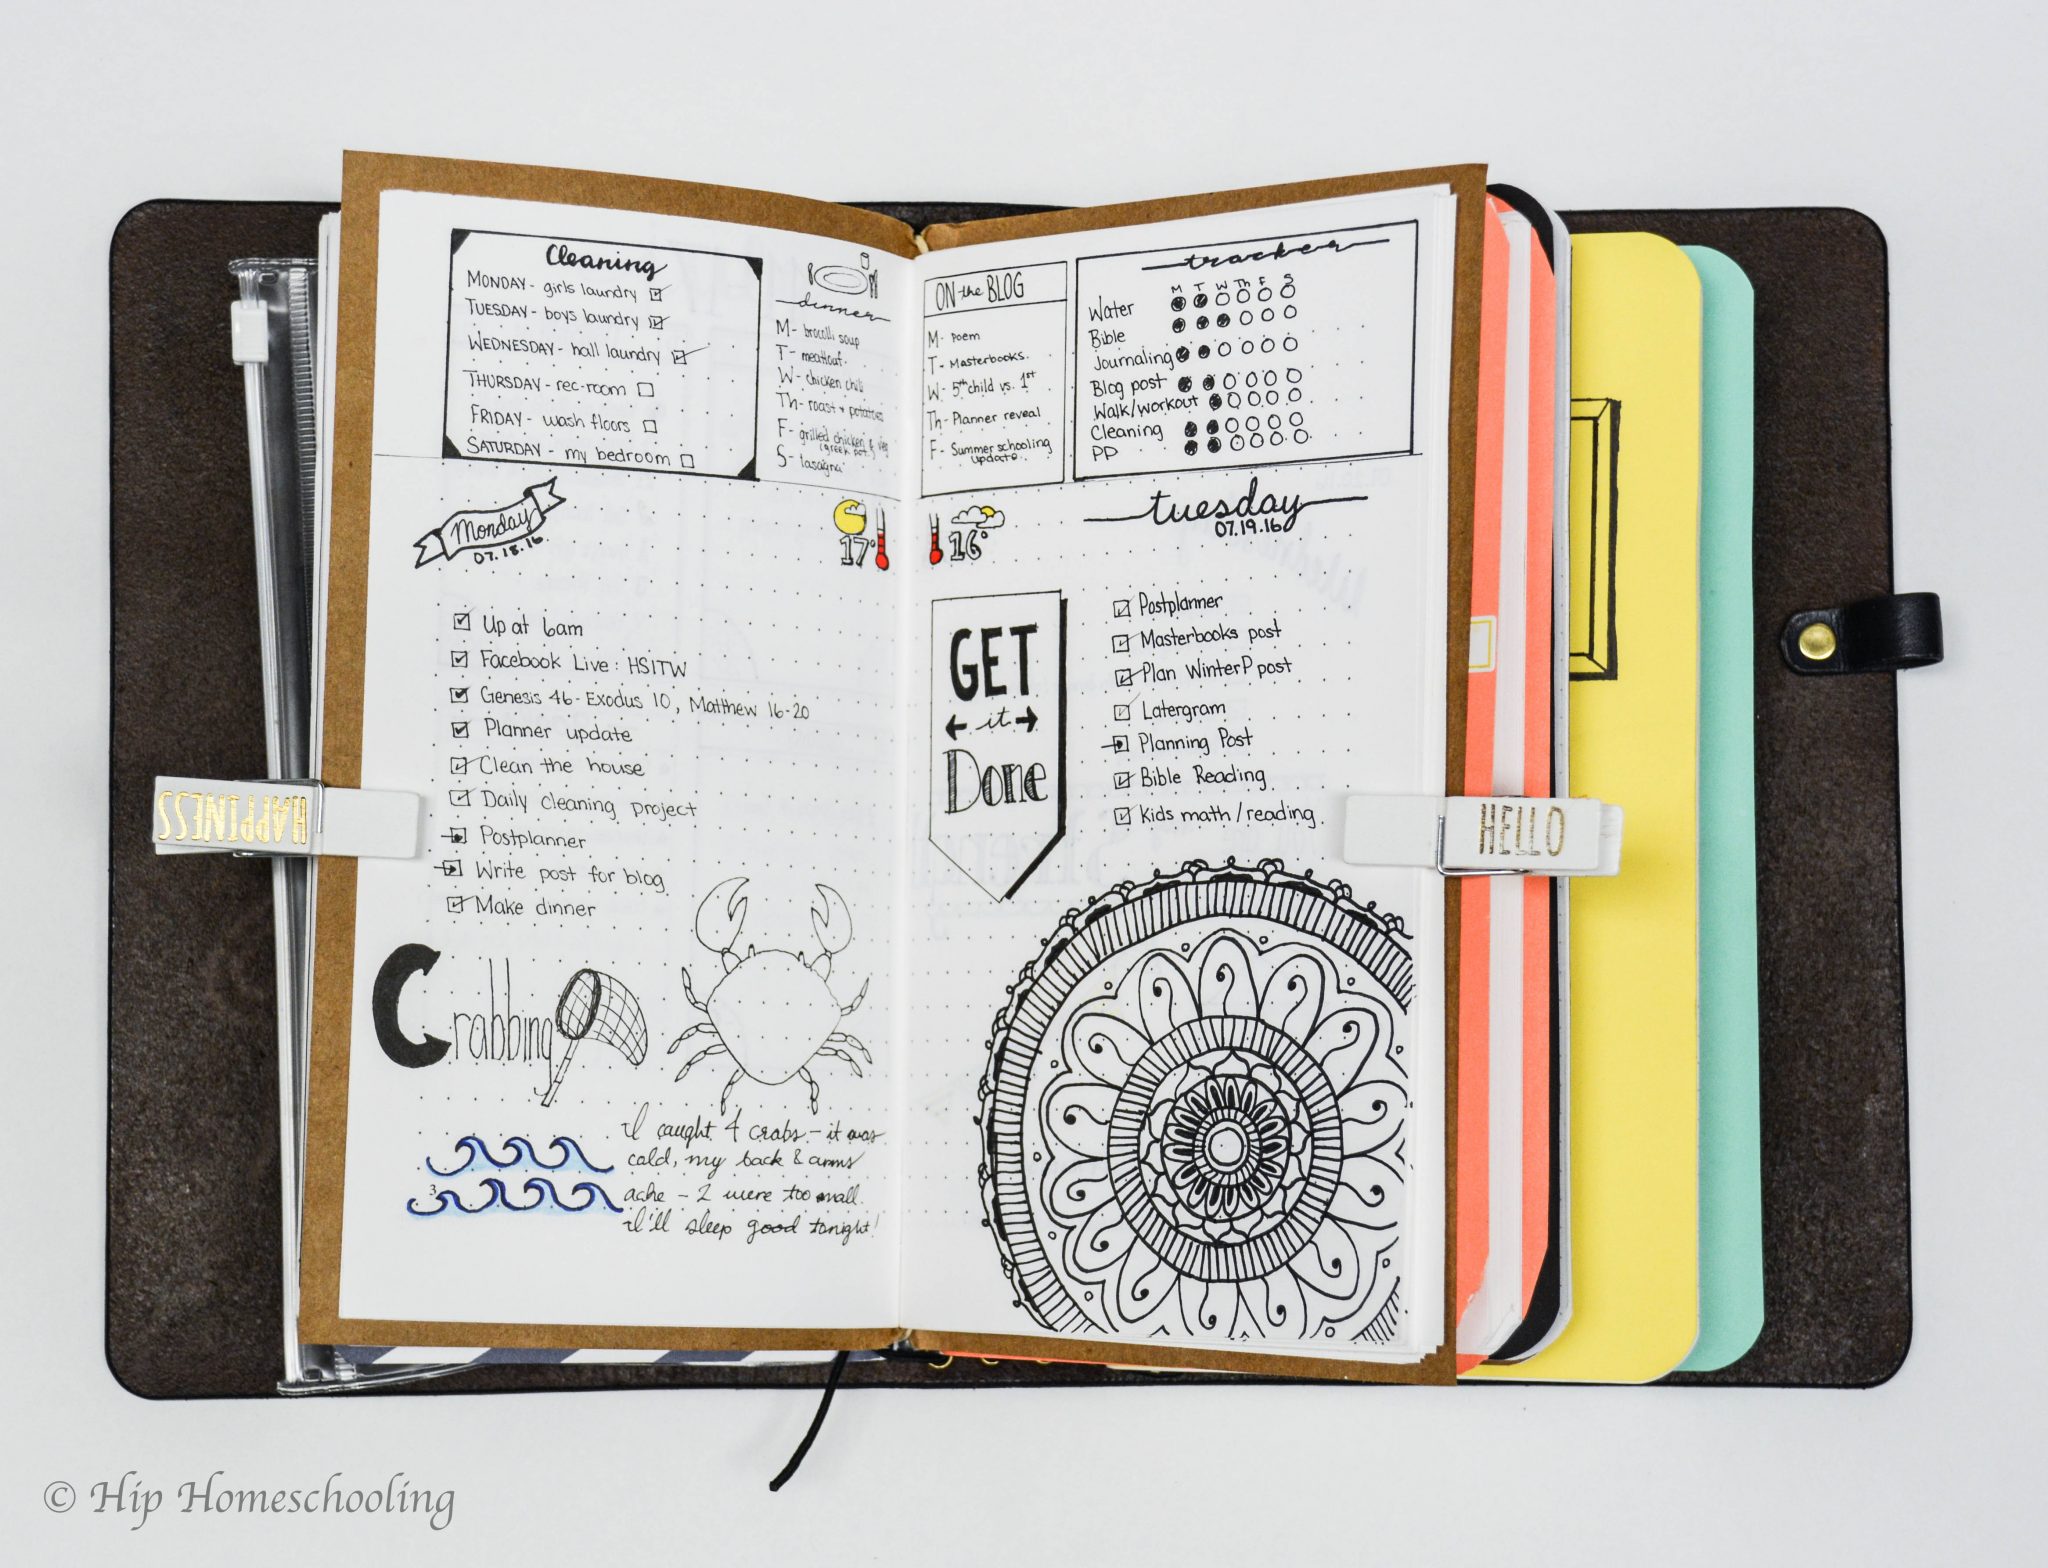
Next I have my Weekly/Daily booklet. This is another insert that I made myself, it is exactly the same as my first insert, with 3 index pages and over 60 pages. This allows me plenty of room to hopefully last longer than some of the ones I purchased that are about half the size.
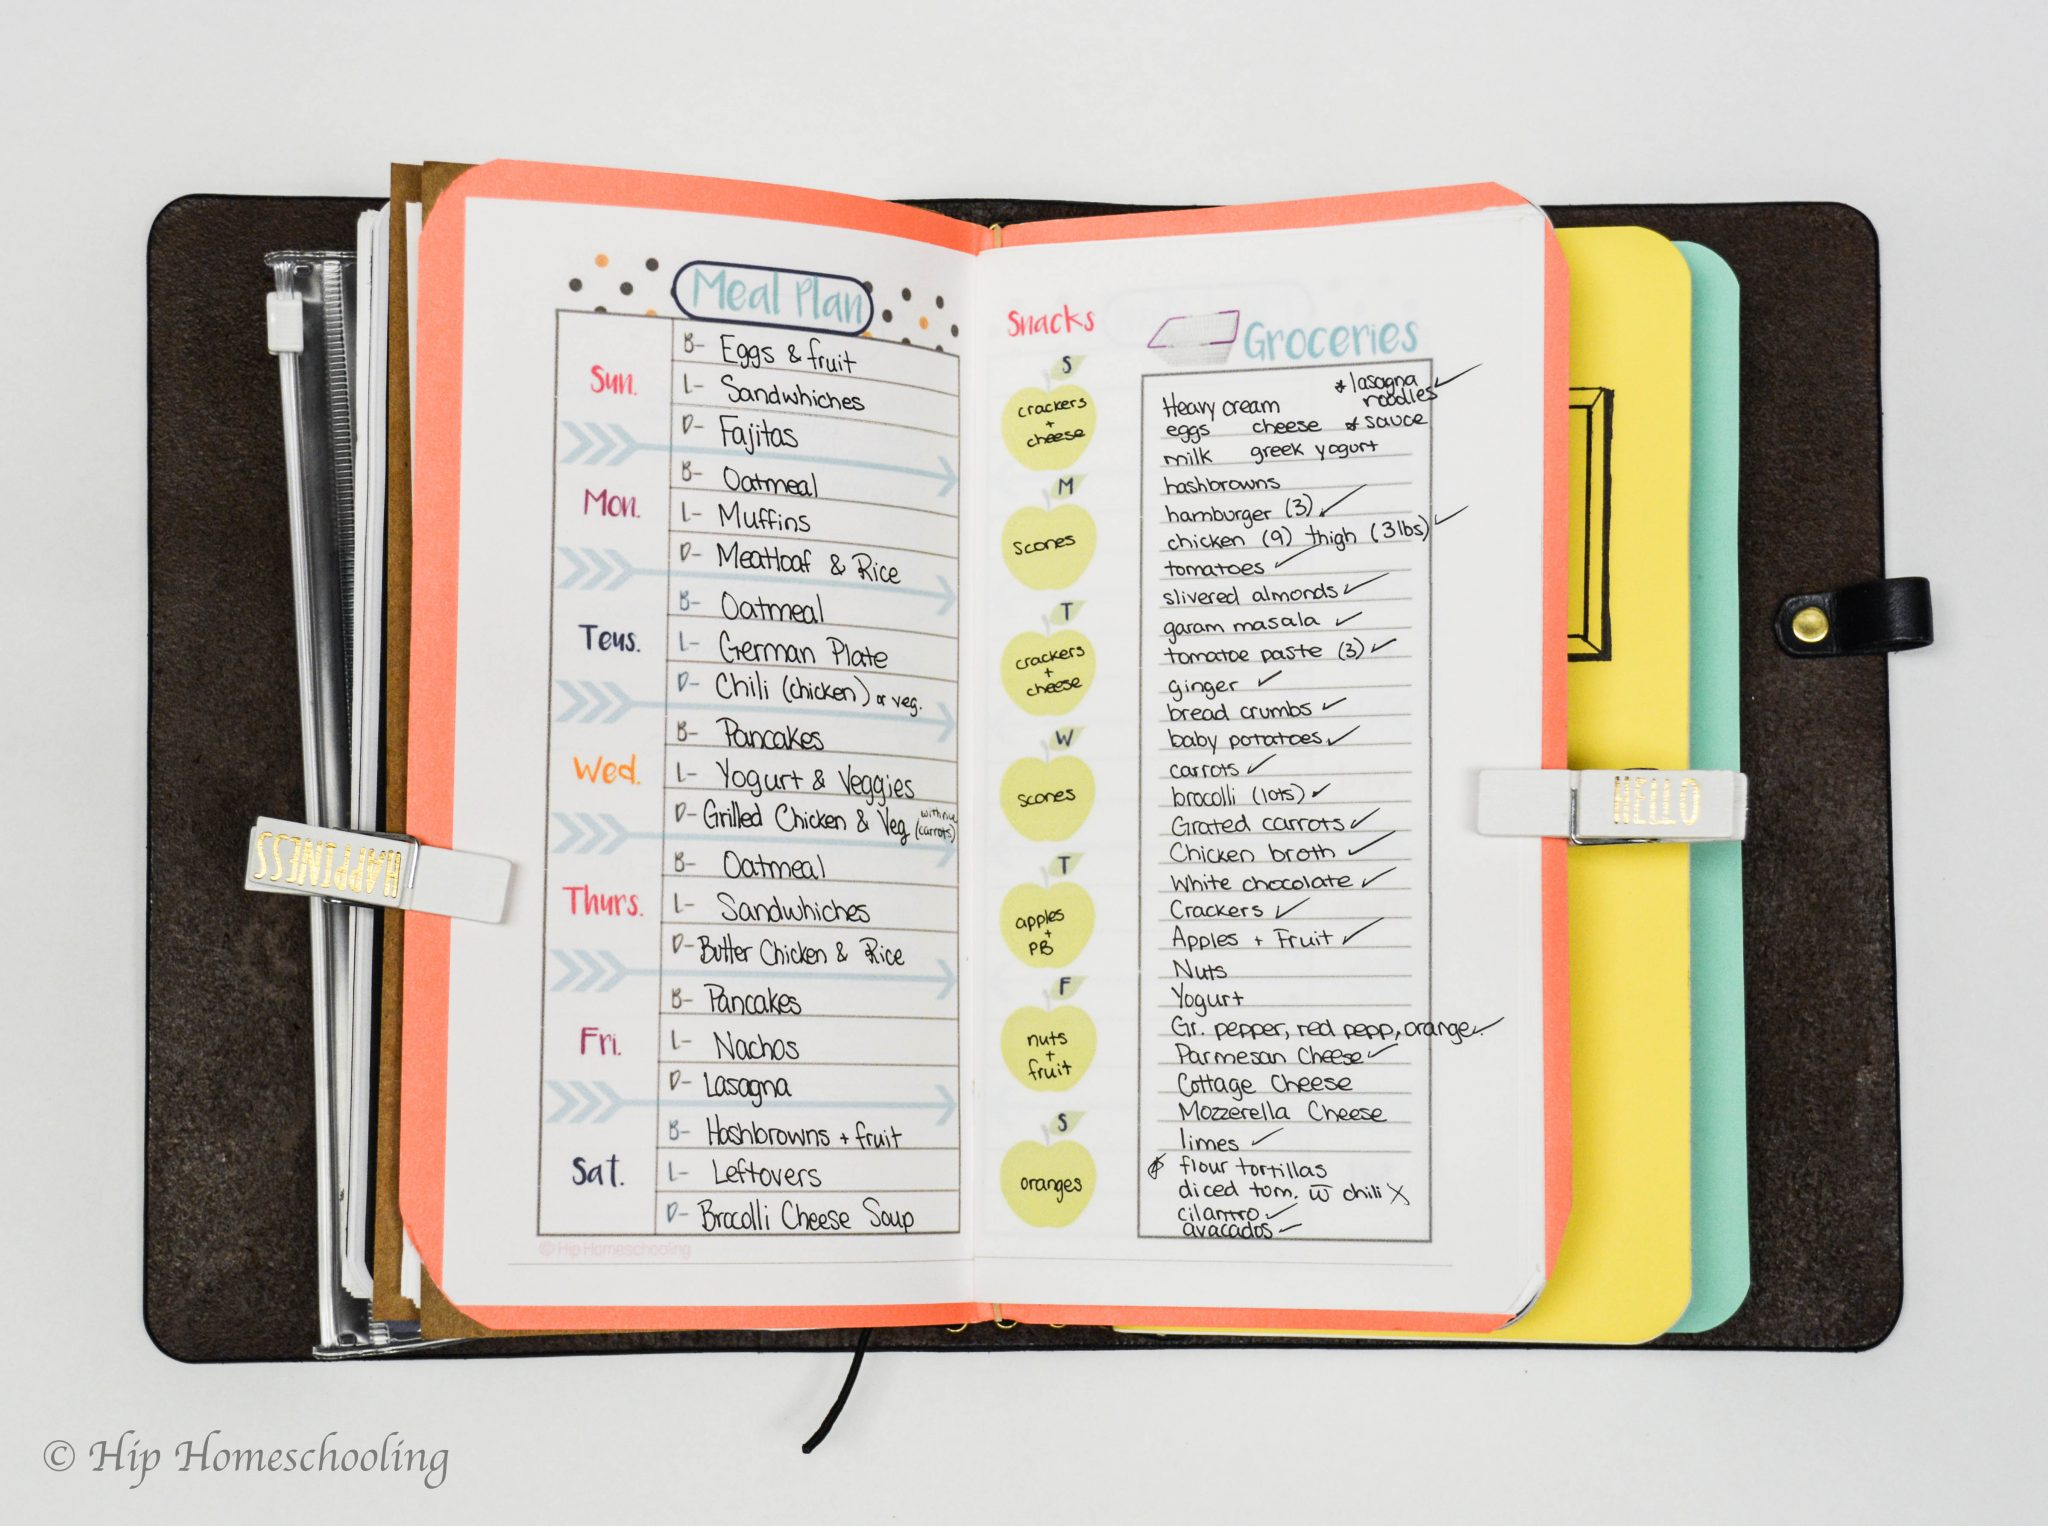
Then I have my meal planning insert. This is my only bright, pre-designed insert. I made it back in January when I first transitioned to this style of planning and I just love it. It is so simple, all in one spread that is bright and easy. I don’t have to spend a ton of time setting it up and it has room for all my meals and snacks as well as my grocery list. I already shared the picture above. In the front it has an idea page, so I use that to track our favorite meals and pull from when I can’t think of what to make.
In the middle are a bunch of inserts I haven’t filled yet. I have a prayer insert, a budget insert, a homeschool insert and a work insert. For now I am just working at my own pace.
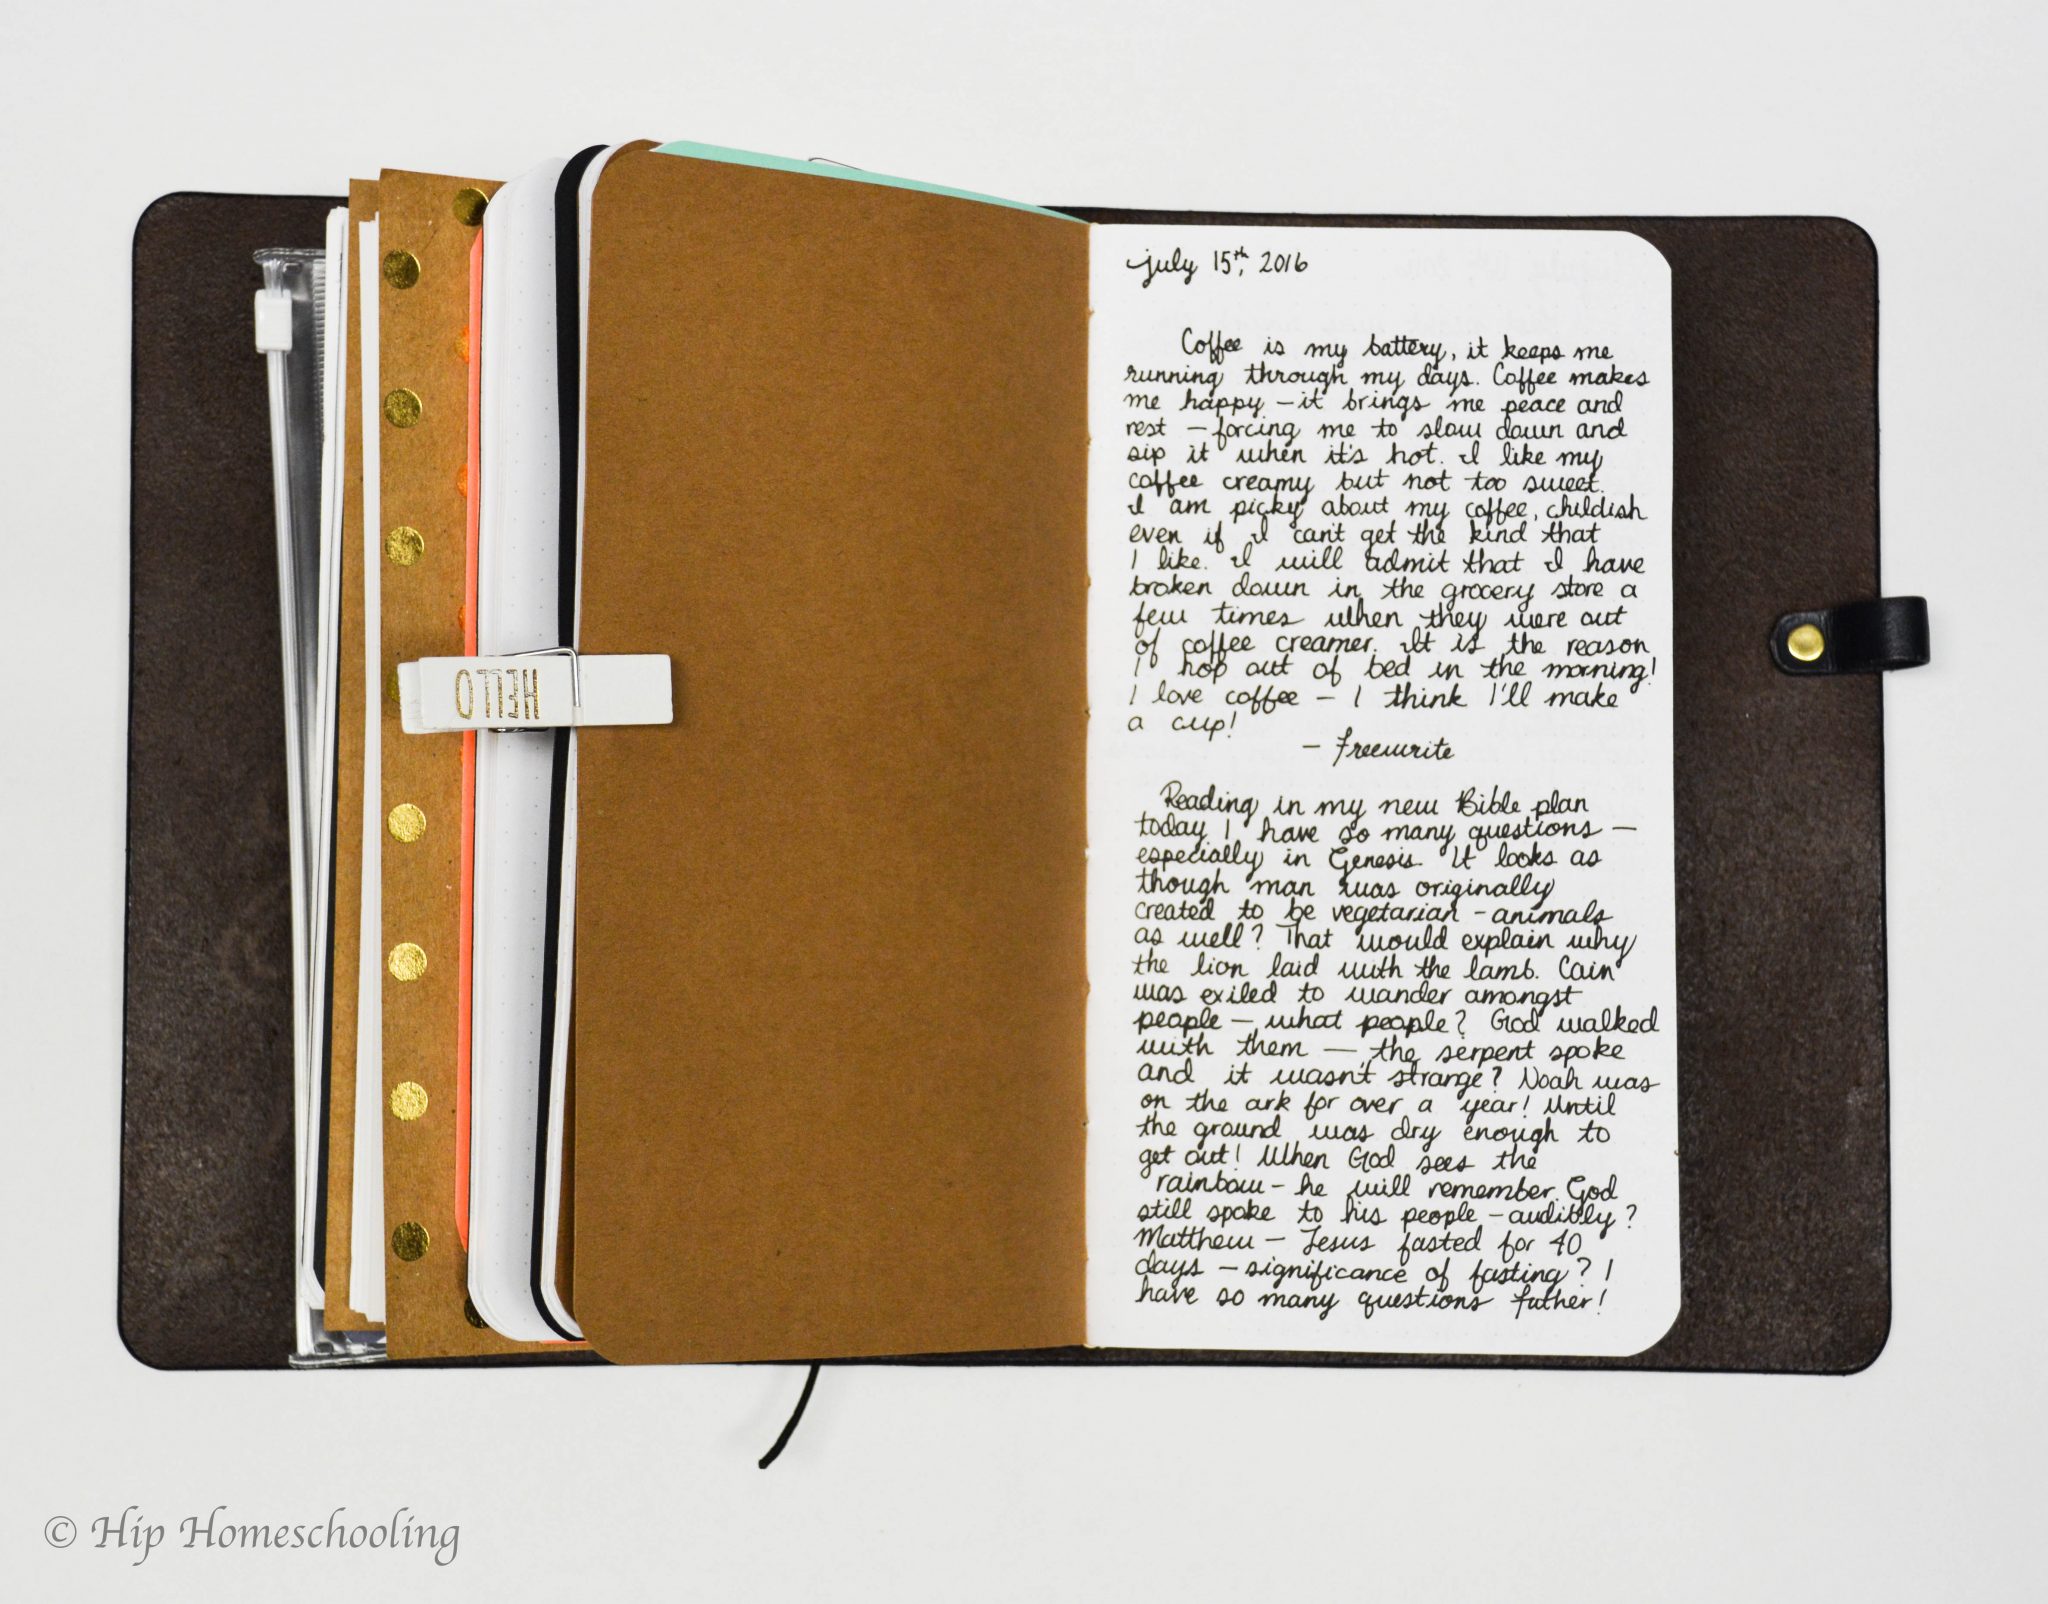
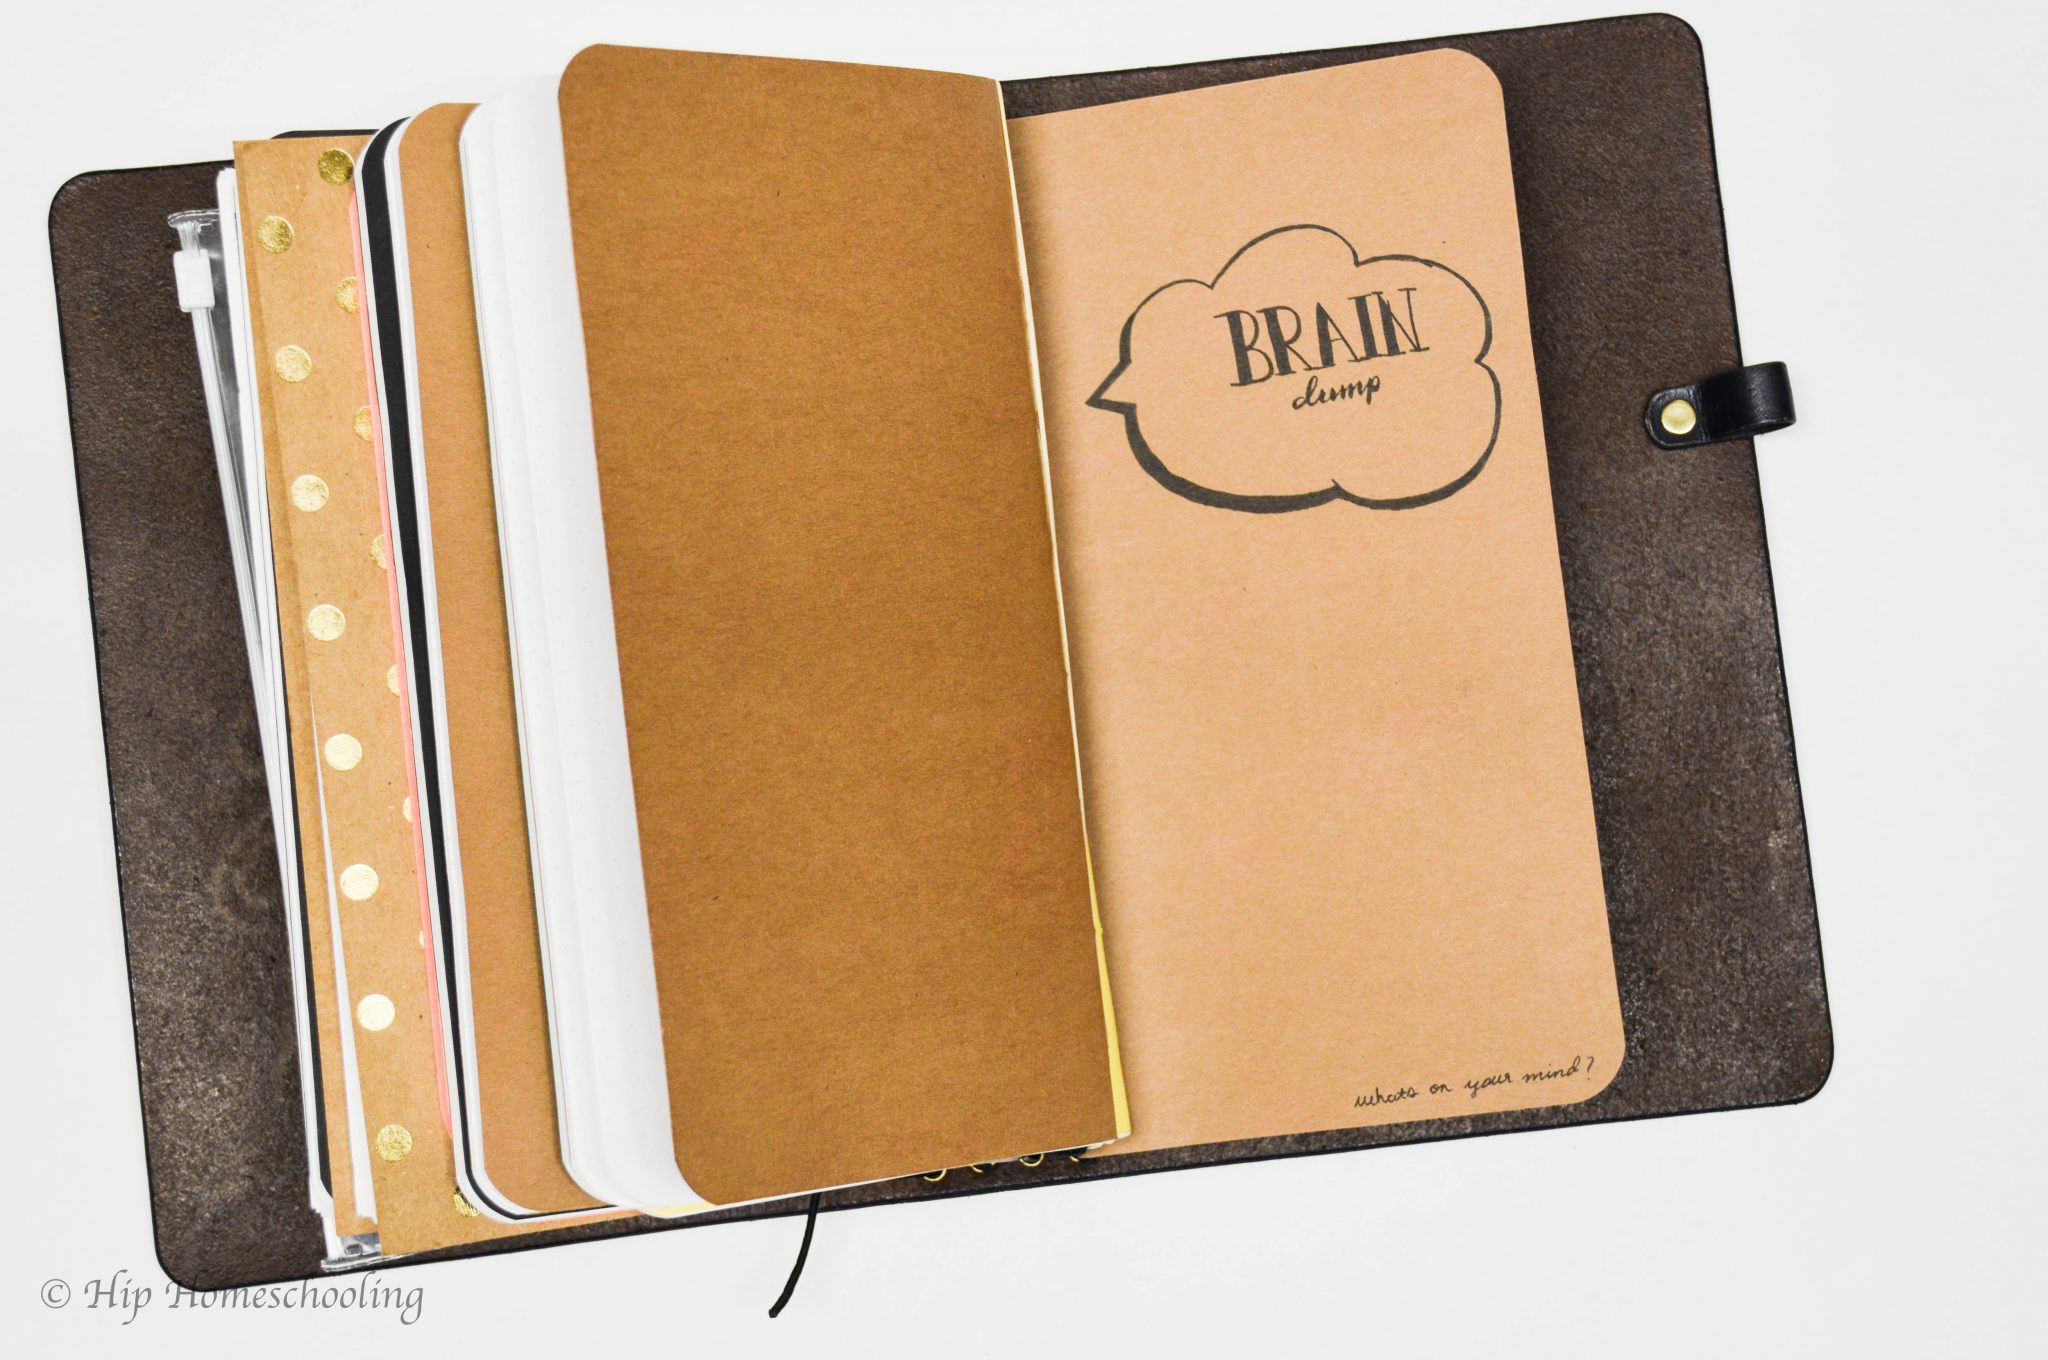 Lastly, I have a journaling insert and a brain dump insert. I really can’t do without these inserts. My journaling insert is just my thoughts, my days, random writings throughout my week. But my brain dump insert is the ONE PLACE it doesn’t have to be perfect. I just get my thoughts out or if I have something I need to write, I do, and worry about where to place it in my planner later on. It is probably my most important insert. You can take a look at it on my video tour on YouTube HERE. You can also follow me on Instagram for regular updates on my planner pages plus a chance to be featured with YOUR planning pages!
